Nursery
Fertilize for Healthy Trees and Shrubs
Feed Trees and Shrubs
Fertilizing trees and shrubs is a necessity, and that includes fruit trees. One of the most significant benefits of fertilizing trees is the preventative maintenance they provide. Landscape shrubs and trees require sufficient energy stores to remain healthy to survive insect and environmental stress. Trees and shrubs are a valuable part of your property, and it is essential to protect your investment. Established trees and shrubs can be easily fed by homeowners using tree food spikes or granular tree food applications. For best results, provide your trees twice yearly, once in early spring and once mid-fall.
What are Tree Food Spikes?
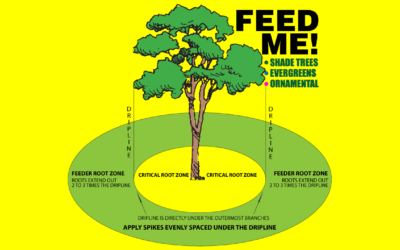
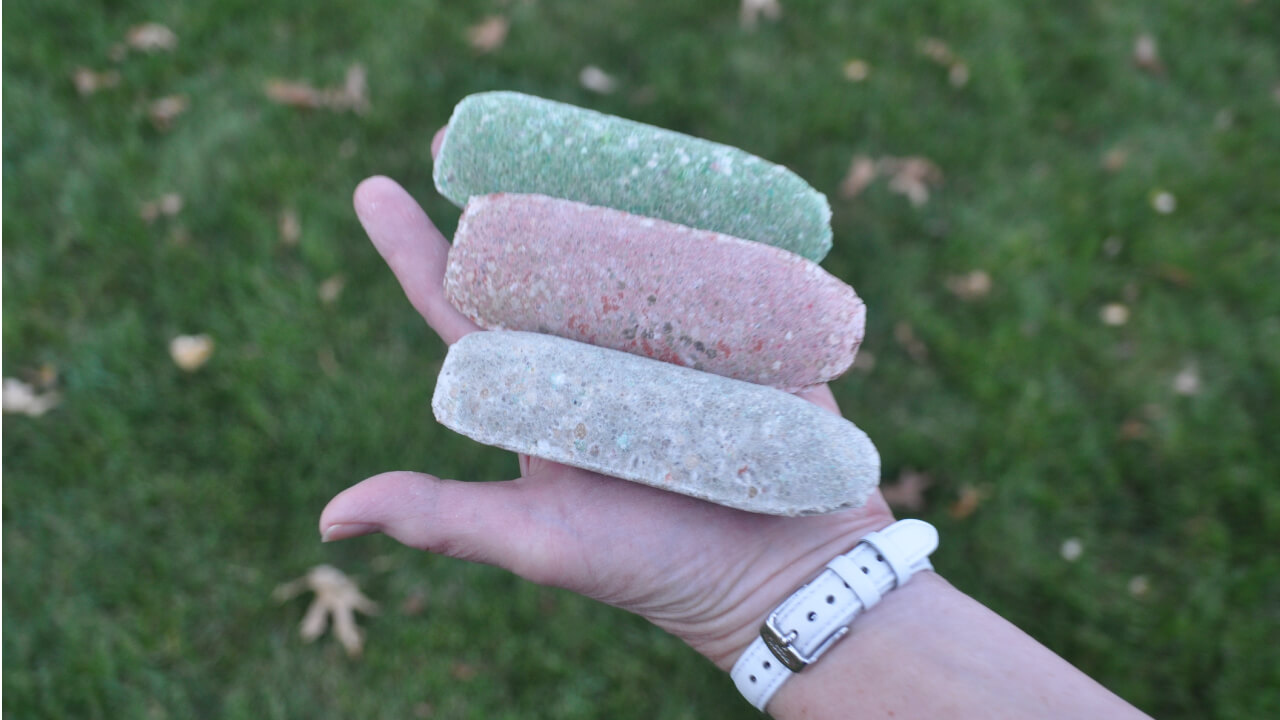
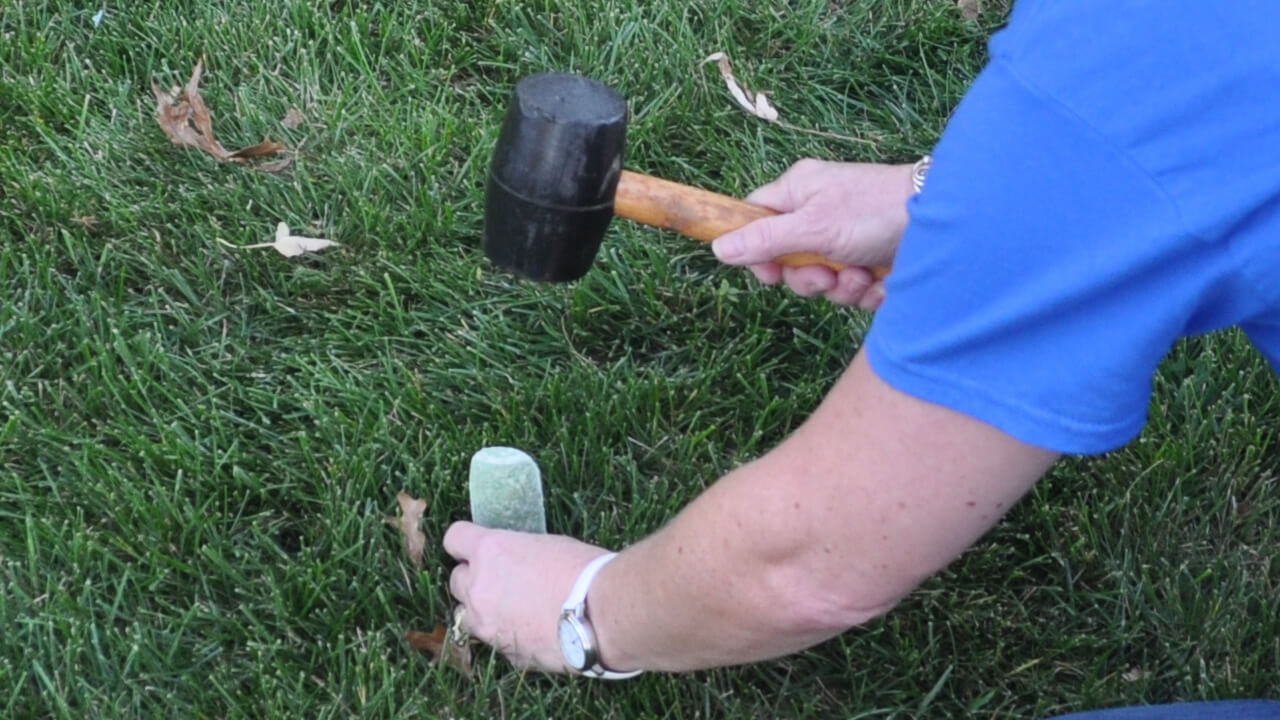
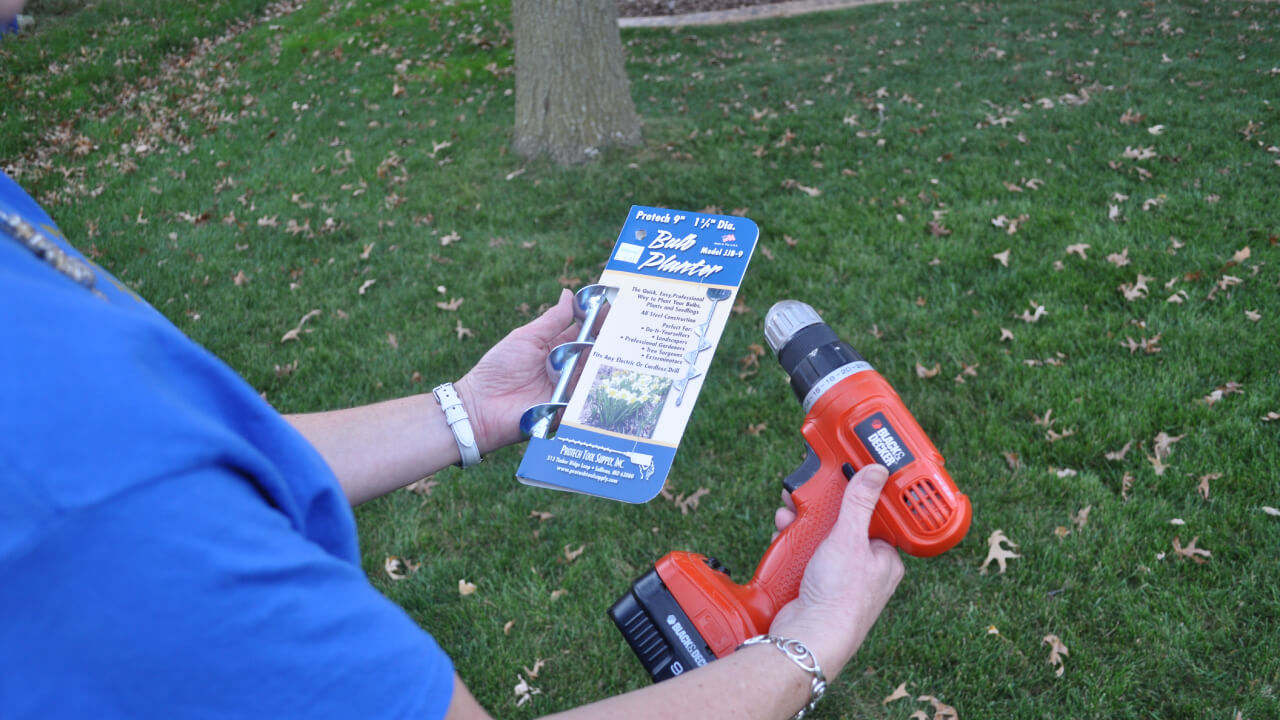
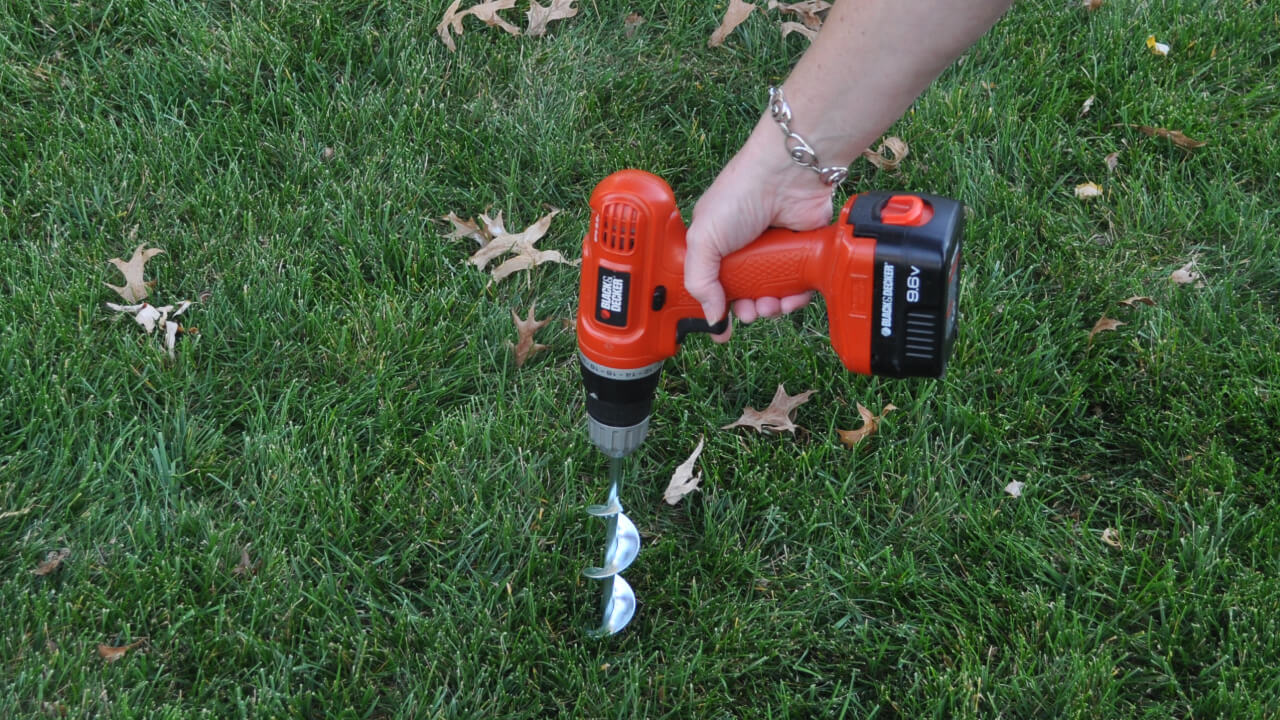
Tree food spikes are the easiest method for feeding established trees. Tree food spikes are compressed cylinders of slow-release fertilizers. Gradually dissolving, tree spikes release nutrients evenly throughout the season. A mallet or hammer can drive These compressed spikes into the ground. In a dry season, using an auger attachment for a drill makes installation more convenient. Once the quantity of tree spikes needed has been determined, drive the spikes into the soil, spacing them evenly near the tree’s drip line. The drip line is the imaginary ring on the ground directly below the outer circumference of the tree’s branches. For small trees and shrubs requiring only one or two spikes, break spikes in half to allow for a uniform distribution pattern.
How Many Tree Food Spikes?
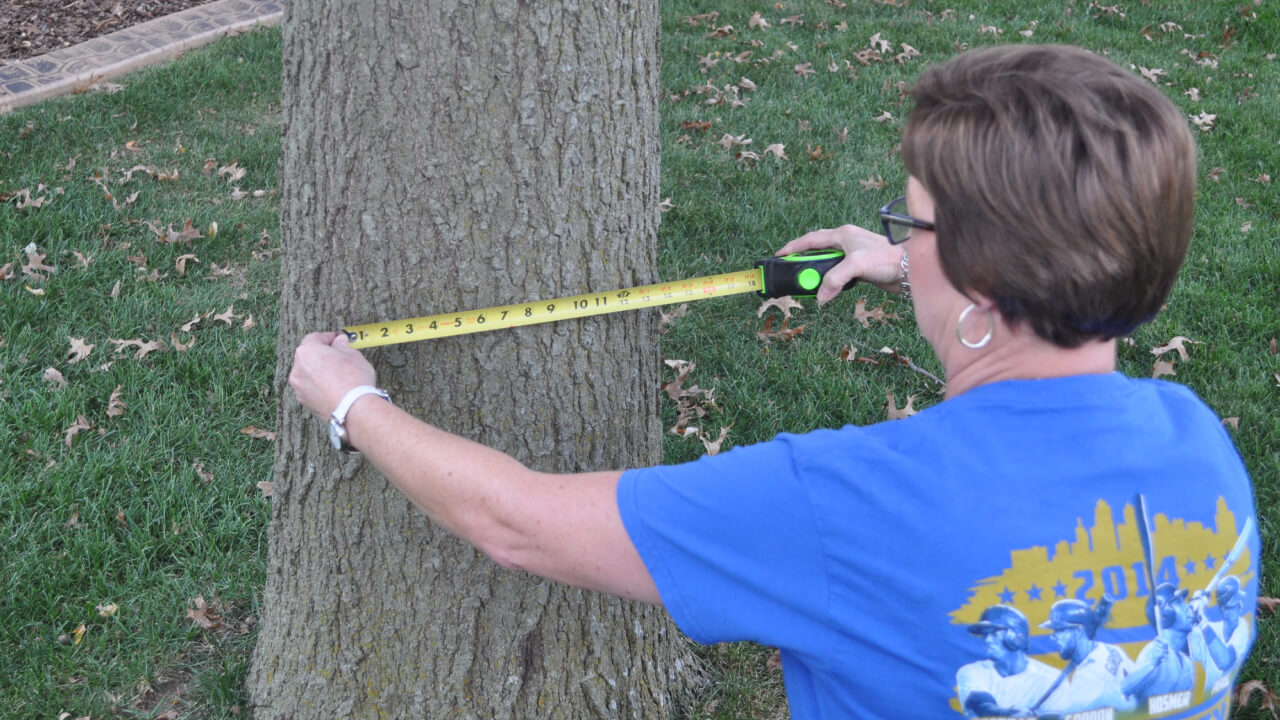
Measure your tree trunk diameter 18 inches from the ground for the most accurate measurement. Bring your tree measurements to the Grass Pad, and our Green Team can help you determine how many spikes or tablets are required for your landscape. Fertilizer formulas are available for evergreen, shade, ornamental, and fruit trees. Also, there are formulas fortified with iron for plants needing iron supplements, such as azaleas, rhododendrons, or chlorotic pin oaks.
Uncle’s Tip: Do not use tree food spikes on newly installed trees or shrubs. Spikes contain fertilizers in amounts not recommended for new trees or shrubs. Use Uncle’s Root Accelerator for the first 12 months for newly planted trees.
Granular Application Tree Food
Uncle’s Green Love is specifically suitable for trees such as oak that thrive with iron in their diet. Spread granulated tree food over the feeder root zone using a push or hand spreader, or use an auger to drill holes and fill. Green Love is a non-burning bio-solid fertilizer that slowly releases nutrients to feed trees and shrubs for up to ten weeks. Green Love contains a low nitrogen, slow-release fertilizer formula to enhance root establishment, disease resistance, and plant vigor. Use five pounds of Green Love per inch of trunk diameter for established trees.
Also available is Uncle’s Tree Food, a multi-purpose granule tree food. Uncle’s Tree Food is formulated to feed ornamental trees, shrubs, and large shade trees.
How to Fertilize Newly Planted Trees and Shrubs
If you are planting new landscapes, avoid using fertilizer spikes until the plant has been established for at least one year. New plantings require a unique fertilizer formulation to accelerate root development. Uncle’s Root Accelerator is intended for new plantings and is recommended for all trees and shrubs at installation. Applied once per month for the first year, Root Accelerator will ensure transplanting success. Uncle’s Root Accelerator is a liquid-concentrated plant starter fertilizer mixed with water and then poured around the tree’s base or shrub. The liquid is immediately available to the plant, encouraging healthy root growth.
See Related: Transplanting New Trees and Shrubs
More Related Articles on Tree Care
Pin Oaks Leaves are Yellow
- How to treat chlorotic Pin Oaks. Learn More at this Link
Max Mix Landscape Planting Mix
- Transplanting new plants and trees? Use Grass Pad’s Max Mix. Learn More at this Link
Controlling Emerald Ash Borer
- Preventing the spread of the EAP. Learn More at this Link
Fruit Tree Maintenance
- Tips on pollinators, battling disease, and insects on fruit trees. Learn More at this Link
5 Tips to Keep Grass Growing Under Trees
How to Keep Grass Growing Under Trees
Very little is required to germinate grass seed. The right amount of moisture and heat and grass seed will grow even with no light and no nutrients. Mother Nature designed her grass seeds to sprout in the deep shade of established grasses. Young grass plants tolerate lower light conditions; however, as grass plants mature, more sunlight is required to maintain health and vigor. Lack of vigor will affect turf density allowing weeds to move into the thin areas. While the area under the tree can be heavily shaded, with a little extra effort, it is rarely too shady to grow quality turf. Here are the top five idiot-proof tips for growing grass in heavy shade.
1. Use the Best Grass Seed for Shade!
Uncle’s Premium Shade grass seed is the ideal blend of elite grass seed varieties with lower water and nutrient requirements. The shade grass seed shows improved shade tolerance and increased disease resistance. Reseed shady areas three times a year (April 15, August 15, and September 15). A routine trimester seeding program adds youthful, vigorous, low-light tolerant grass plants into the maturing turf stand.
2. Traffic Management!
Shade-stressed grass plants are less tolerant of heavy wear from foot traffic, so traffic management may be required. Active dog runs in shady areas may require physical barriers to alter the dog’s traffic patterns. A runway of mulch along the fence could be your best option for large active canines, giving them an area to run without destroying the grass. Relieving soil compaction would be beneficial in heavy traffic zones.
3. Deep Water Shade Areas!
In the spring, with frequent rains, the shade tree and grass are good neighbors – there’s plenty of moisture for everyone. However, when spring rains stop and summer heat sets in, the trees get very unfriendly and selfish. A large shade tree can use hundreds of gallons of water a day, leaving very little moisture for turf grass. Discourage turf disease in summer with deep and infrequent waterings to reduce wet foliage.
4. Improve Sunlight!
This tip maybe your “AHHAH” moment. Intensity and duration of quality light reaching the grass plant are important. The more time the grass plant has in full sunlight, the better it will perform. Pruning lower branches to raise the canopy will increase sun exposure and allow more wind circulation, helping to reduce humid conditions that can stimulate turf disease. Shade areas with restricted air movement may require treatment with Fungus Fighter to maintain a quality turf stand.
5. Reducing Soil Compaction!
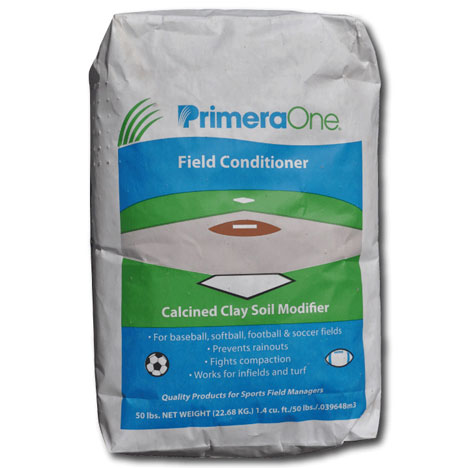
Condition the soil under your shade trees to help reduce soil compaction. Increase the soil’s water holding capacity and improve drainage by core aerating the area and raking Primera Sports Field Conditioner field conditioner into the aeration holes. Primera Sports Field Conditioner is a natural, porous ceramic granule that has incredible air and water holding capacity. Primera Sports Field Conditioner helps to relieve compaction and improve drainage when incorporated into the soil.
What About Large Tree Roots?
Unchecked over the years, soil erosion can expose shallow tree roots. Bare soil erodes quickly with no grass roots to hold soil in place. Top soil can be hauled in to cover exposed roots, but too much soils can be damaging for the tree. Gasses must pass from the air to the roots and from the roots back to the air. Too much soil pack can create real problems for the tree, so be careful! Some surface roots can also be removed. Large surface roots are more for anchorage and with expert help, you may be able to remove a few. Always contact an arborist for advice on removing tree roots.
More Related Articles to Idiot-Proof Fall Lawn Renovation
Non-Mechanical Soil Aeration
- Soil microbes are Mother Nature’s soil aerators. Feeding soil microbes helps promote soil health. Learn more at this link.
Why Grass Dies Under Big Shade Trees
- Understanding why grass will not grow under trees is important to developing a solution. Learn more at this link.
Fighting Fungus in the Lawn
- Fight fungus before it shows up on your lawn. Learn more at this link.
Core Aeration vs. Verticutting
- What is the difference between core aeration and verticutting your lawn? Learn more at this link.
Why Grass Dies Under Your Shade Tree
Why Does Grass Die Under Shade Trees?
Customers come into our stores every fall and ask, “Why does my grass keep dying under my shade tree?” It’s always the same story, “My grass looked great after I overseeded last fall. It looked amazing in the spring but died out during the summer.” So the short answer is that trees are bullies.
Growing Grass Under Trees, It’s Not All About Sunlight
What would seem to be the most apparent resource in short supply would be sunlight; however, the area under the tree can be shady, but it is rarely too shady to sustain turf. So what is happening under the tree is that the tree will out-compete the turf grasses for resources necessary for a healthy life. The most significant shortage is water. Imagine how much water it takes to support a full-grown tree having several acres of leaf surface from which water evaporates.
Trees are Like Giant Drinking Straws
Trees draw up water from roots through a process of transpiration. Transpiration is water evaporation through the leaves. This evaporation creates negative water pressure and works much like a drinking straw using the tree’s xylem to draw water upward from the roots into the tree and, eventually, to the leaves.
The xylem is the water highway for plants to transport water and nutrients from the roots to the leaves. Grass plants also contain xylem. The grass xylem is a one-lane country road compared to a tree as a one-way eight-lane super highway. Consequently, the trees will move water faster and in higher volume than grass plants.
Why Shaded Grass Areas Grow Great in the Spring
Weather and the environment influence transpiration. The shorter daylight hours of spring, frequent rains, and cloudy weather reduce the transpiration process; thus, the tree uses less water, leaving plenty of moisture available for grass plants. As a result, the trees and grass are simpatico, and everyone gets along.
Why Shaded Grass Areas Die In the Summer
Unlike spring, during summer, we have infrequent rainfall, constant southern winds, extreme temperatures, and longer daylight hours, which will intensify transpiration. The rise in transpiration means the trees are sucking more water from the soil, sometimes hundreds of gallons per day, to support themselves. This situation creates a battle for water between the tree and your grass, and it is magnified during drought seasons.
How to Keep Grass Growing in Heavy Shade
Compensating for this unfair advantage, the tree holds over the turf; we try to level the playing field in several ways. First, always water the shaded areas more frequently during the hot, dry summer months. Second, Relieving compaction by mechanical core aerating and filling the aeration holes with Primera Sports Field Conditioner will increase the water-holding capacity.
Importance of Healthy Soil Under Large Trees
Tree roots need permeable soils to exchange air between the root zone and the atmosphere. This process is called respiration. Respiration is the opposite of photosynthesis. The tree roots take in carbon dioxide to produce sugars and oxygen as a food source. Less-than-ideal growing conditions for large trees will reduce the groundwater available from the soil to support the tree and your grass.
See Related: Fertilizing for Healthier Trees
Tree Roots Need Room to Grow and Spread
The feeder roots for trees will extend two to three times the tree’s drip line. The largest concentration of tree roots will be in the top two to three feet of the surface. Imagine a massive pin oak tree growing in the middle of a tiny front lawn. You have a house and foundation along one side of your yard, your driveway on one side, possibly the neighbor’s driveway on the opposite side, and a sidewalk or street on another. Where do you think those tree roots are going to grow? The root system that supports that 40-foot tree is super condensed into this tiny lawn. Surrounded by concrete, the pin oak is essentially planted in a huge concrete planter. When planting a tree, give the tree plenty of space to grow up and plenty of room for root growth.
Aerating the Soil Around Tree Surface Roots
Often areas with heavy root concentration leave large surface roots within the critical root zone and dense, compacted feeder root zones, making it almost impossible to core aerate mechanically to loosen the soil and allow better water and nutrient penetration. An alternative solution to a mechanical core aerator is non-mechanical soil aeration using a granular application of Soilbuilder C20.
See Related: Soil Builder Feeding Beneficial Soil Microbes
Trim Lower Branches to Help Grass Grow Under Trees
Lack of beneficial sunlight also plays a part in grass performance. Pruning lower branches to raise the canopy will help to increase sun exposure from the sides and allow for better wind circulation to fight turf disease. However, little can be done to improve the quality of sunlight coming from directly above. A university study found that 95% of the most beneficial sunlight is absorbed by the tree’s leaves, leaving little to land upon the grass plants.
As grass plants mature, more sunlight is required to maintain health and vigor. In full sun, grass blades reach towards the sky to soak up healthy sunlight and flourish. The grass plant reacts the same way in the shade, searching for quality light. Unfortunately, having reduced light levels result in a thinner and less vigorous grass plant. Weakened grass plants are less tolerant of drought, heat, and disease. In addition, the lack of vigor will affect turf density allowing weeds to invade thin areas.
Lessons Learned From Mother Nature
Mother Nature designed her baby grass seeds for sprouting and tolerating lower light conditions under the shadow of established taller grasses. Re-seeding dense shade areas three times a year (April, June, and September)) will add new generations of youthful, vigorous, and low-light tolerant grass plants to the maturing turf stand.
Best Grass Seed to Grow in Shade
Uncle’s Premium Shade grass seed is the ideal blend of elite grass seed varieties to introduce genetic diversity with lower water and nutrient requirements, improved shade tolerance, and disease resistance.
See Related: Five Tips for Growing Grass Under Shade Trees
More Related Articles to Growing Grass
5 Tips on Growing Grass Under Shade Trees
- Why grass won’t grow under big trees. Learn More at this Link
How Much to Water New Grass Seed?
- Planting new seed? How often should you be watering? Learn More at this Link
Seasonal Mowing Heights
- The seasons will determine how short or tall to mow your lawn. Learn More at this Link
Mowing Wet Grass
- Should you mow wet grass? Learn More at this Link
Preventing and Repairing Pet Damage
We love our pups! But as precious as our dogs can be, they can cause tremendous damage to your lawn. Maintaining dog runs along fences and repairing pet urine spots remain among our most asked-about problems to be solved. Here are some things you can do on your lawn to minimize pet damage and maintain dog runs.
How to Keep Pet Urine Spots from Killing Grass
Pet and animal urine can leave behind unsightly dead spots in your lawn, usually in areas where the dog or pets frequently urinate. To prevent pee spots from appearing in your yard, apply Lawn Cal at a rate of 40 lbs per 1,000 sq. ft. over the entire pet area in early spring and fall. Supplementing beneficial calcium into the soil, along with adequate watering, will assist in the leaching of the high concentrations of harmful elements contained in pet urine, facilitating their movement through the soil structure, away from the grass roots, and allowing the grass to stay green and healthy. In addition, Lawn Cal is a naturally occurring compound safe around kids and pets. Apply Lawn Cal twice yearly for optimum results.
Uncle’s Tip: Water those pet areas frequently to assist in moving the harmful elements through the soil. Pet urine contains small amounts of nitrogen. Fertilize your lawn more regularly if dark green spots are considered the problem.
How to Fix Dog Urine Spots in the Yard
Repairing pet spots is simple. Rake and remove any loose debris from the area. Next, apply Primera Sports Field Conditioner layer over the bare soil, approximately 3/8 inch thick. This layer will isolate the seed from any pre-emergent herbicides in the soil. Next, use your favorite Grass Pad grass seed at the heavier bare soil rate. Cover the grass seed with a thin Primera Sports Field Conditioner layer, then water routinely. When seedlings reach 3 to 4 inches, mow to 3 inches with a sharp mower blade when the lawn is dry.
Uncle’s Tip: Water seeded areas lightly and frequently to keep them evenly moist. DO NOT LET THE SEEDS DRY OUT!

What is Lawn-Cal?
Lawn Cal improves clay soils. An agricultural-grade pelletized gypsum, Lawn-Cal is an excellent source of calcium and sulfur for lawn or garden. Lawn-Cal is essential for healthy soil and vigorous plant growth. Used as a soil improvement, Lawn Cal reduces compaction by increasing water and air infiltration, which assists in neutralizing the negative effects of salt and other excessive elements in the soil.
Tips for Repairing Dog Runs
Dog runs along fences and paths form over time from the daily routine in a dog’s life. Running repeatedly in these same pathways causes the soil to be compacted. The most severe soil compaction occurs when soils are waterlogged, noticeably in early spring after a wet winter’s thaw. The larger the dog, the worse it can get without some routine maintenance. Soil compaction leaves little oxygen available to the roots, making it difficult for the grass to grow. Relieving soil compaction helps the soil to support healthy turf growth. Applying Lawn Cal over the entire yard each spring and fall will help to reduce soil compaction. In addition, core aerate your heaviest traffic areas every fall.
Uncle’s Tip: Avoid using solid-tine aerators in clay soils. For best results use a hollow core aerator and pass over the compacted areas at least 2-3 times. Apply Primera Sports Field Conditioner after aerating by raking or sweeping the Primera Sports Field Conditioner calcined clay chips into the core holes. The entire lawn will also benefit, especially if you have poor drainage.
Growing Grass on a Race Track
Like sports fields, dog runs with the heaviest traffic should be frequently over-seeded with Stadium Special, a sports turf perennial ryegrass blend. Stadium Special is tolerant of intense traffic and blends very well with bluegrass or fescue lawns. If your backyard is home to several large dogs, stay ahead of the game and overseed your entire lawn with Macho Mix fescue or Estate Mix bluegrass, each of these blends contains a portion of sports turf perennial ryegrass.
Uncle’s Tip: On soccer practice fields, grounds crews move the goals to manage the amount of abuse around the goal area. Give Phido boundaries and rotate those boundaries through the season. Let him run on one side of the yard while the other is repairing. This is difficult, but it would be the ideal repair solution.
Fertilize and Water Dog Runs
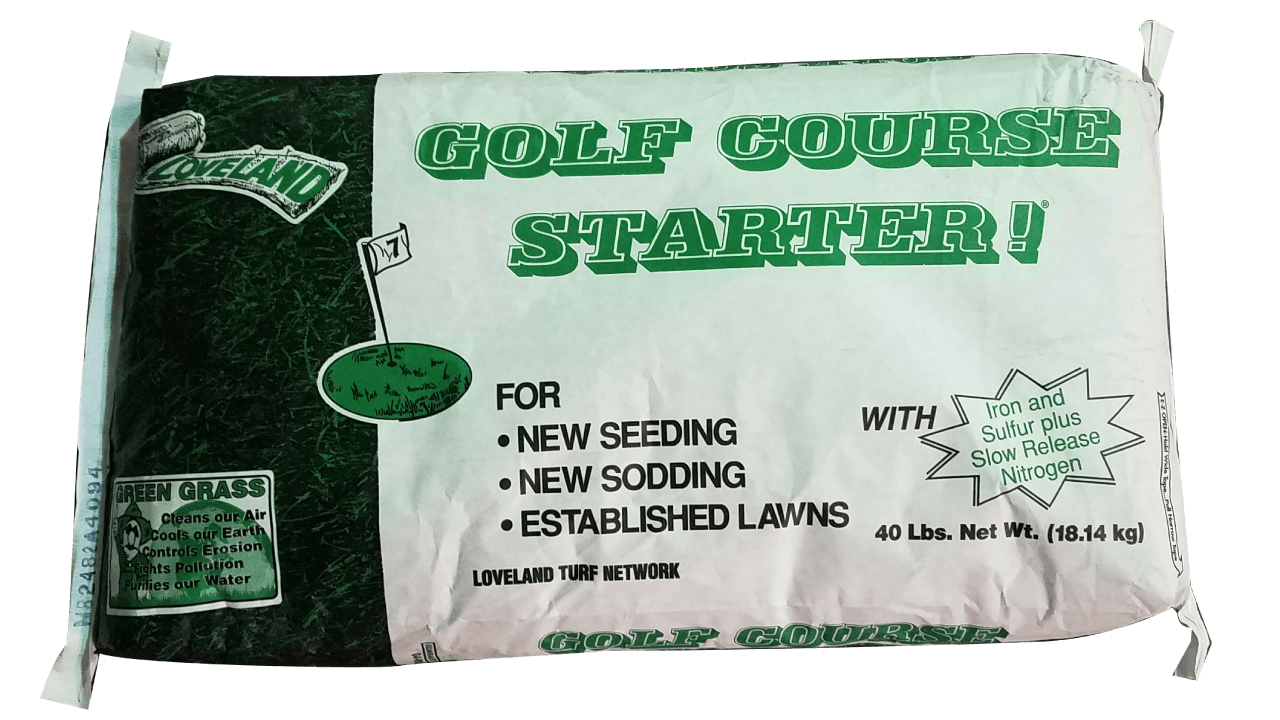
Golf Course Starter or Renovator should be applied every four weeks during the spring & fall growing seasons. Water your lawn regularly during the dry summer months. Watering in the morning is recommended to avoid turf fungus. A deep watering applied infrequently is best. Average watering should be one inch per week. Hot summers with excessive heat may require up to two inches per week.
Are These Products Pet Friendly?
It is impossible to eliminate all risks inherently associated with any organic or inorganic lawn products. There are hazards and cautions for sugar and table salt as well. However, we recommend watering each product with at least ½ inch of water and letting the lawn dry before allowing pets access to be on the side of caution. And as always, we recommend reading the entire label before any application and following all label recommendations. We’ve been doing this for 60 years and haven’t lost anyone yet.
More Related Articles on Pets and Lawn Care
Fleas, Ticks & Chiggers!
- Control biting insects that can spread infections and disease. Learn more at this link.
Mulches for Landscapes
- How to read the types of mulches and how they are used. Learn more at this link.
Healthy Lawns Need Calcium
- Lawn Cal is essential for healthy soil. Learn more at this link.
What is a Core Aerator?
- What is a core aerator and how do they work? Learn more at this link.
How to Care for Hardy Garden Mums
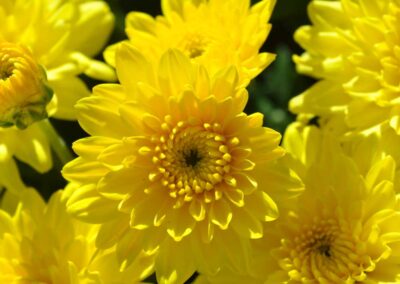
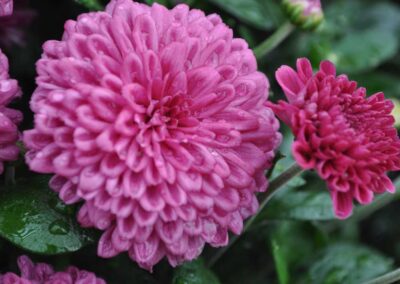
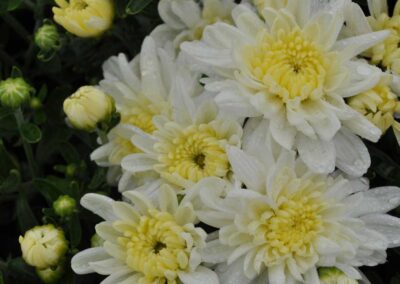
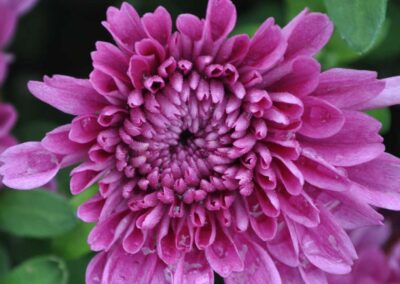
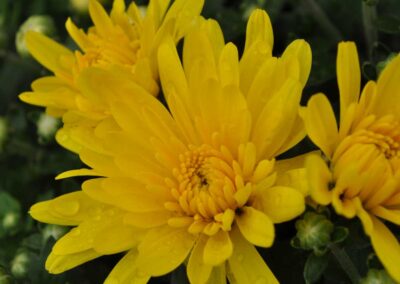
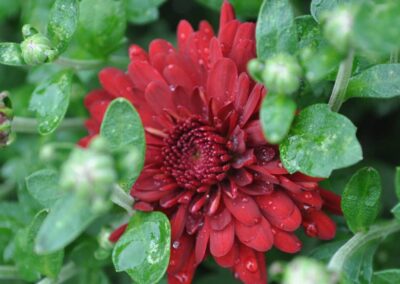
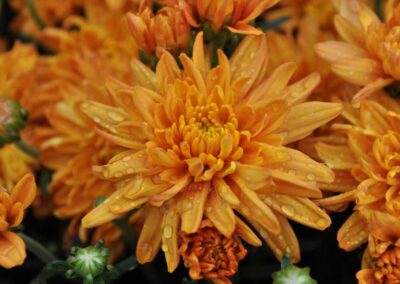
Hardy garden mums are iconic during the fall harvest season. Hundreds of cultivars of mums provide an array of colors and bloom shapes in the fall garden. Bloom colors will range from white, yellow, orange, bronze, red, pink, purple, and burgundy. In addition, garden mums come in many different flower shapes. Decoratives, Cushions, Daisies, Pompons, and Button style chrysanthemums are the most traditional.
What is a Hardy Garden Mum?
Hardy Chrysanthemums, also called garden mums, are popular plants that have been used in the gardens of China since before 550 B.C. Their blossoms brighten containers, landscape beds, and borders from mid-August through November with blooms that often last for many weeks. Today, hardy mums are a large part of the fall harvest season, along with asters, pumpkins, gourds, and straw bales. Garden mums are a great way to revive worn-out planters and bring color to any spot in the landscape.
Choosing a Garden Mum
When choosing garden mums, look for full, healthy plants that still have some tightly closed buds. This ensures you’ll get blooms for a more extended period. Additionally, mums do best and often look better when repotted out of their plastic nursery pot and into larger containers and landscapes.
Idiot-Proof Guide to Planting Garden Mums
- Choose a well-drained location where the mums will receive at least five hours of sun per day.
- Dig a hole twice as wide and only as deep as the container. Space blooming garden mums in the fall based on plant size.
- Remove from the container and place the mum into the hole onto undisturbed soil. The top of the root mass should be level with the soil grade. Mums growing in fiber pots can be planted without removing them from their containers.
- Backfill with a balanced mixture of Grass Pad’s Max Mix planting mix and native soil. Pack the soil mixture firmly around the root mass.
- Cover the planting area and the top of the root mass with the mulch of your choice.
- Water thoroughly at planting using a diluted solution of Uncle’s Root Accelerator.
- Water as needed; never let newly planted mums in bloom or buds dry out. The amount and frequency will vary by size, weather, and soil conditions.
- Fertilize with Uncle’s Root Accelerator every two weeks until buds crack open. Repeat monthly in the growing seasons.
Uncle’s tip: Avoid watering over the top of mum plants. A mum’s branches are brittle and easily broken. Large containers of mums contain multiple plants and should be watered from the side into the pot to prevent the individual plants from splitting apart.
Can Garden Mums Survive Winter?
Most folks treat them as annuals; however, garden mums are hardy from zones 5 to 9 and should be considered tender or half-hardy in cold zones. With the proper care, they can come back in most parts of Kansas and Missouri but may struggle to survive winters in Nebraska.
How to Keep Mums Coming Back
The best chance for fall planting success is to plant garden mums as early as possible and pick the tightly budded mums. If you plant them early in the fall and fertilize them routinely with Uncle’s Root Accelerator, they will have enough time to root before the ground freezes and survive the winter. However, Mother Nature and Old Man Winter can take their toll on the hardiest of plants, so there are never any guarantees that mums will survive the winter, but here are some tips to help you beat the odds.
Mum Care After Blooming
Cut your mums down to the ground after the blooms fade and the foliage dies back. This is typically in mid-December. Apply a 3-4 inch layer of mulch or Uncle’s Max Mix to protect the roots during the winter and prevent them from heaving from the soil during winter’s freeze and thaw cycle.
Uncle’s Tip: To assist in finding them in spring, mark the location of each individual plant with a Grass Pad marking flag.
Mum Care In The Spring
In late March, remove the mulch from the base of each plant to allow the sun to warm the soil and trigger new growth. Fertilize with Uncle’s Root Accelerator and continue to fertilize every four weeks through September. Mums that survive could be thin and unshaped. They will need to be pinched back regularly to keep them compact.
Pinching or Pruning Buds
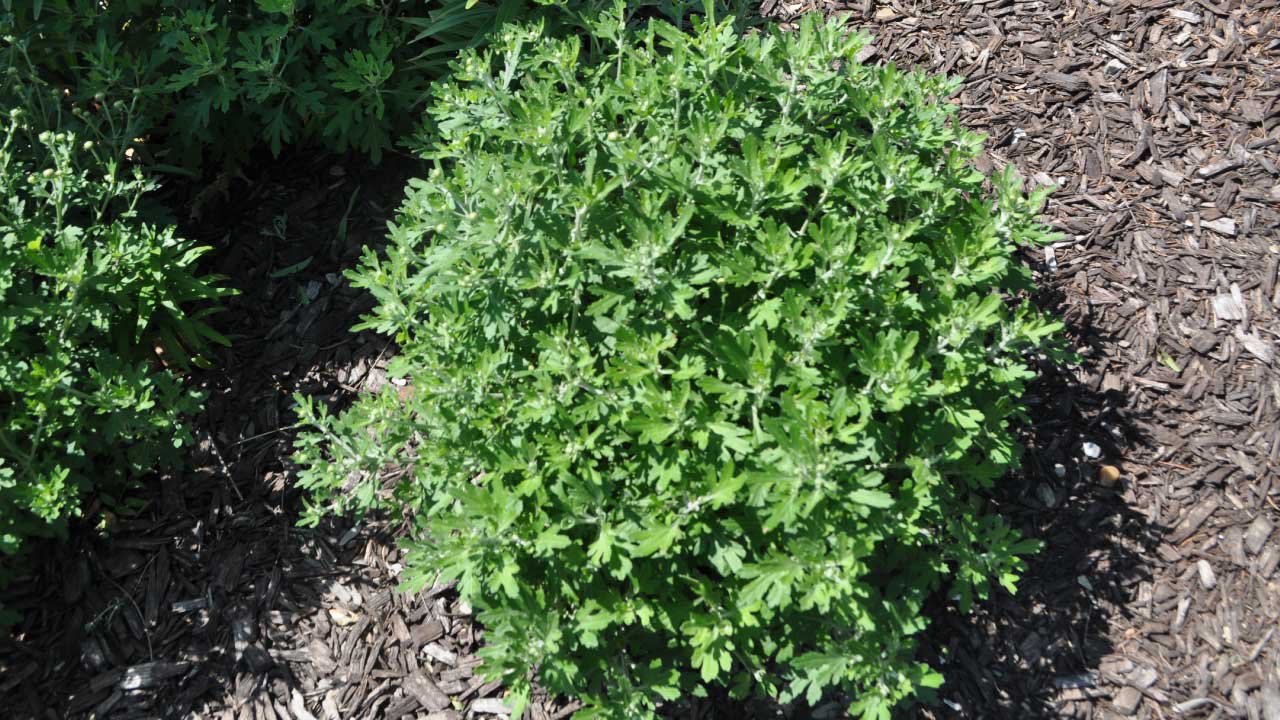
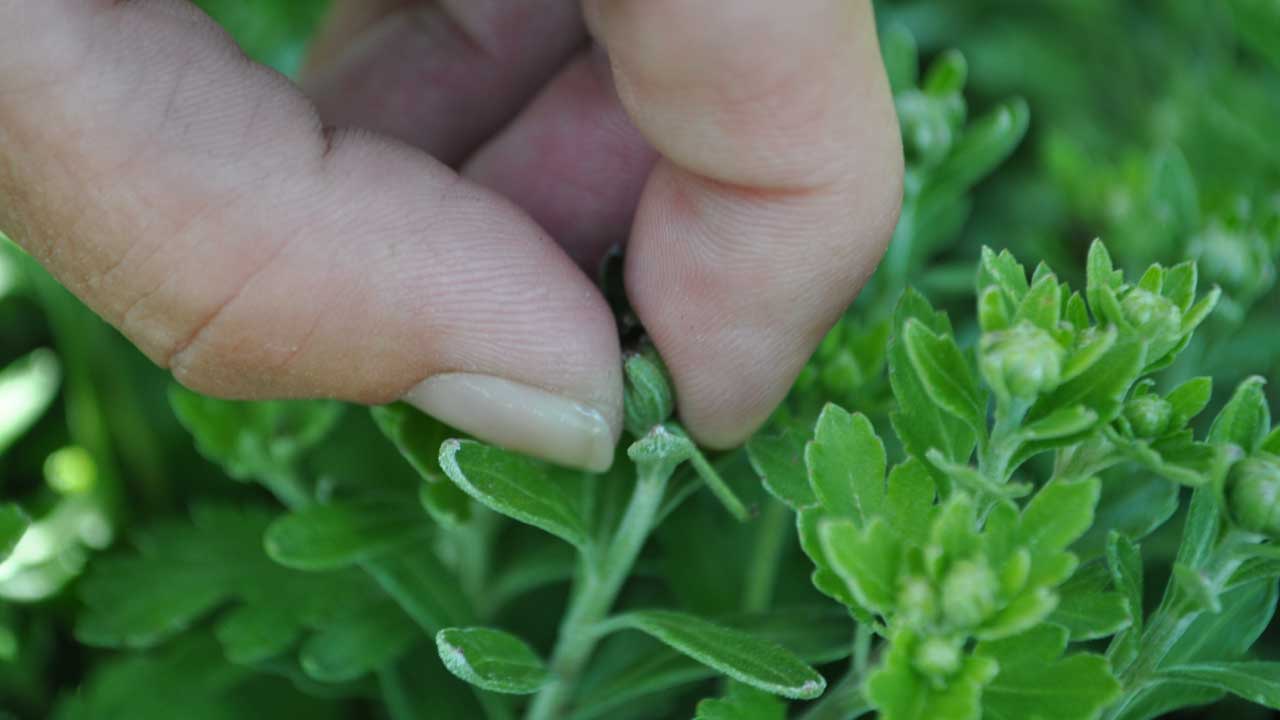
Pinching back your garden mums the following spring season is critical to encourage branching and developing a compact plant habit. When new growth is four to six inches tall, use your thumbnail and index finger to remove or pinch off about ½ of the new growth. Do this at the top of every shoot. Repeat this procedure through the summer whenever new shoots are four to six inches long. Stop pinching around the Fourth of July.
How to Divide Mums and Make New Plants
Chrysanthemums sometimes become crowded in the garden. The old center portion of the plant dies back, and new growth occurs around the perimeter of the clump. Renovating chrysanthemum clumps every three or four years will encourage healthy growth, neat plant habit, and continued flowering.
When new shoots appear in the spring, dig the entire clump. Use a sharp spade or knife to cut the clump into wedge-shaped, pie-like sections. Remove and discard the point of the wedge (this is the oldest part of the clump). Plant the new plant (wedges) eighteen to twenty-four inches apart at the depth they were growing. Amending the soil the Uncle’s Max Mix and watering in with a diluted solution of Uncle’s Root Accelerator.
More Related Articles to Garden Mums
Uncle's Root Accelerator - Keeping Plants Healthy
- Uncle's Root Accelerator gives plants a healthy start. Learn More at this Link
Uncle's Max Mix - The Secret is in the Soil
- Uncle's Max Mix is a premium-grade horticultural planting mix. Learn More at this Link
Grass Pad's Seasonal Flower Markets
- Available in season, Grass Pad has a large selection of annual and perennial flowers. Learn More at this Link
Flower Pots Available at Grass Pad
- We inventory many different sizes and quality of glazed and decorative pots from around the world. Learn More at this Link
Snowflake Pansies for early Spring and Fall
- Have fun with pansies and use them everywhere. Learn More at this Link
Grass Pad Flower Market and Garden Center
This is Uncle Nature’s favorite time of year! Taxes are done, robins are singing and it’s time to paint up the landscape. A flat of annual flowers costs less than a gallon of paint and will give you bright colors all summer long.
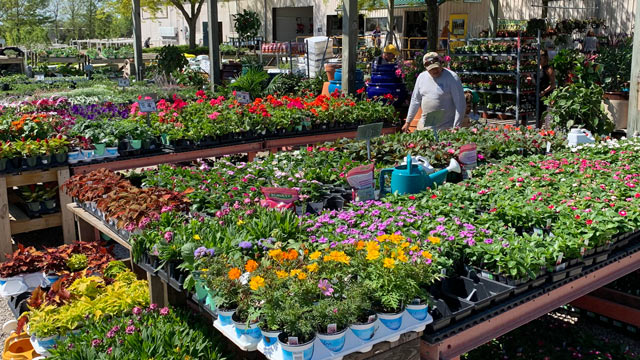
Seasonal flowers arrive daily during the peak spring season. Grass Pad Flower and Garden Centers continually re-stock the freshest and highest quality flowering annuals, hanging basket, combination planters, garden vegetables and perennials. We take pride in maintaining our plants, keeping them healthy to ensure you go home with the best plants. We care about our customers and the quality of our fresh flowers. If you are a beginning gardener and need suggestions, we have plenty of helpful staff available in our nurseries. At the Grass Pad, we have the reputation for having the most knowledgeable staff with the best customer service in the Midwest. If you are the experienced gardener or landscaper, bring us your wish list or give us a call for availability.
Note: Grass Pad Flower and Garden Center inventory will change day to day based on the season, weather and market conditions. Each spring season, Grass Pad Flower and Garden Centers fill our tables and racks with thousands of flats of annual and perennial flowers available for retail and wholesale purchases.
When picking out flowers for your garden or your containers, all the selection can be a little overwhelming! Below is a quick guide of the best way to create planters, and what types of flowers you can find at all Grass Pad locations.
Planting in Pots and Planters
Pots and planters are a great way to decorate the porch and patio in spring. They provide design solutions to problem areas and enhance a garden setting. Containers can emphasize entrances to homes, the garden and can be used to screen unsightly views or soften the edge of a bordering lawn.
Uncle says to use three easy steps will create a basic framework for any pot, basket, or container – the Thriller, the Filler, and the Spiller.
The Thriller: Use plants that make a big impact with height and structure to your container. Dracaena spikes, Zonal Geraniums, tropical cordyline, or Blue Arrow Juncus add thrill. Purple fountain grass or Angelonia work well. Perennials such as liatris or coneflower can be used.
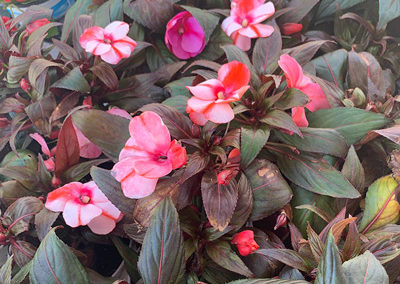
The Filler: Use flowering or foliage plants to fill out the body of your container. Choose complimentary colors of pastels or bold colors. Select plants that will grow at similar rates so one plant does not overrun another. Try Sun Patiens, Sun Coleus, or New Guinea Impatiens, to name just a few.
The Spiller: Trailing varieties that spill and cascade over the side of your container soften the edges of your planter and add the finishing touch. For foliage try ivies, licorice plant or vinca vine. Add color with bacopa, trailing verbena, trailing calilbrachoa, scaevola or torenia.
Annual Flowers for the Garden or Containers
Annual flowers are flowers that are planted every year, and generally have the brightest and most vibrant colors. Some annual flowers you might be familiar with include pansies, snapdragons, petunias, geraniums and many more. Annuals are perfect for:
- Creating color and interest in pots, planters, and garden beds
- Finishing off landscape borders and boundaries with a punch of color
- Using as a companion to your vegetable garden
- Supplementing a flower cutting garden
Perennials for the Landscape or Container Gardening
Perennials are plants that come back year after year if properly cared for, and so only need to be planted once if you’re planting them straight into the ground. If you’re using them for planters or pots, you can transplant the perennials to your garden in the fall to enjoy again next year. Perennials are perfect for:
- Creating season-long color
- Attracting pollinators to your yard and landscape
- Creating a season-long cutting garden
Like annuals, perennials can be planted in both containers and in the landscape. However, if you plant perennials in containers, you’ll have to take special care of them to ensure they survive the winter. Common and popular examples of perennials include daisies, coneflower, catmint, salvia and many more.
Plants for the Sun and Plants for the Shade
One of the first questions we’ll ask you when you come shopping for flowers at the Grass Pad is, “Sun or shade?” Most plants prefer one or the other, and choosing the plants based on the sun exposure is a sure way to get the best-looking garden on the block. Here are a few examples of flowers that work well in each location:
Uncle’s Tip: The closer together, the better they look! Annuals planted too far apart take all season to grow together in the bed. Plants 4” to 6” apart fill in quickly and will make you a hero.
Uncle’s Favorite Shade Annuals:
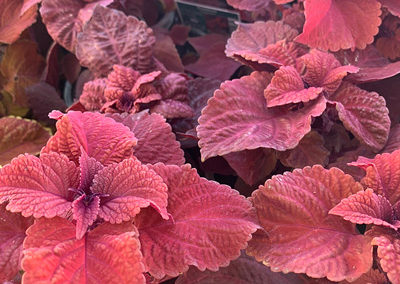
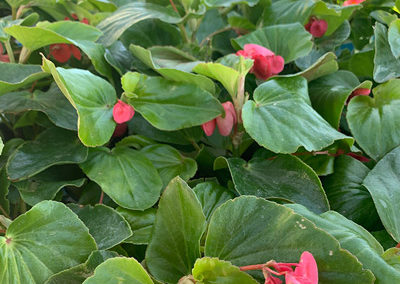
Alyssum, Green Leaf Begonia, Coleus, Impatiens, Lobelia, Pansy and Violas.
Best Hydrangeas for Shade and Sun
Why Do Hydrangea Flowers Change Color?
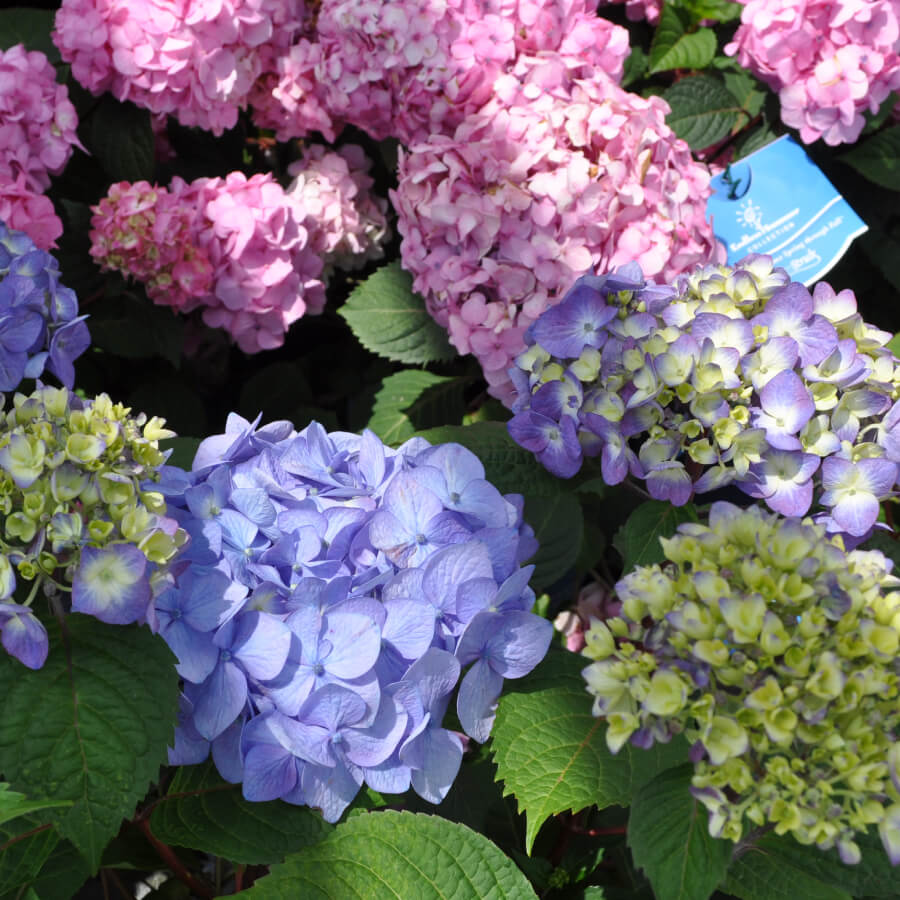
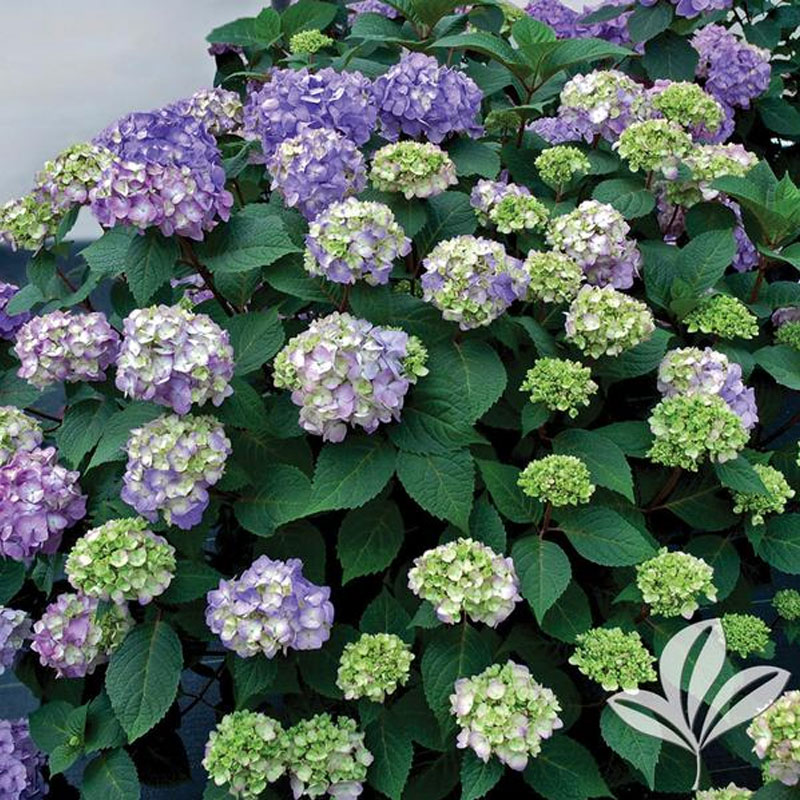
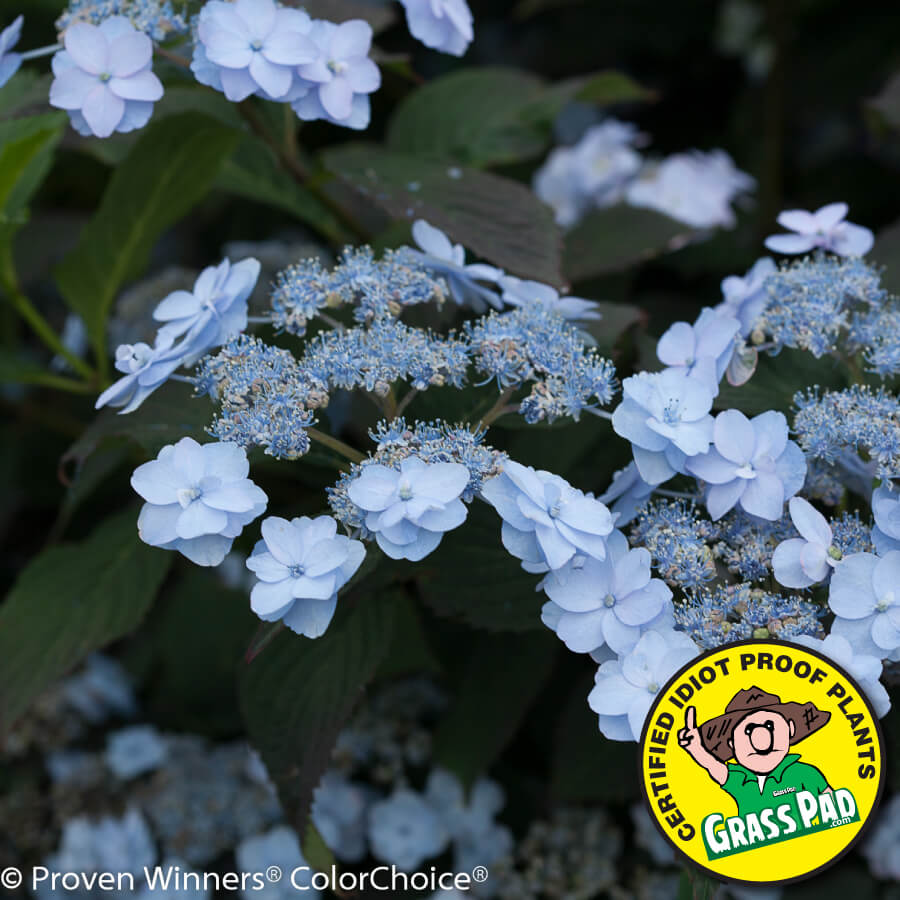
One of the most exciting habits of some hydrangeas is the ability of the flowers to change color. This is not true of all hydrangeas, but most often seen in the mophead and lacecap (or mountain) cultivars of hydrangea macrophylla.
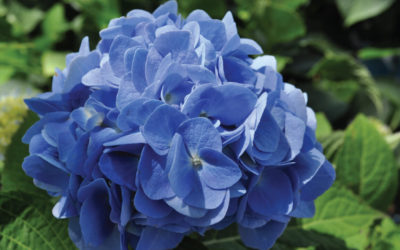
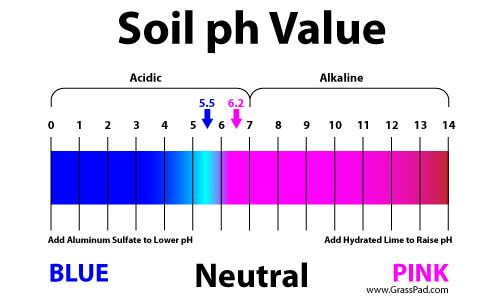
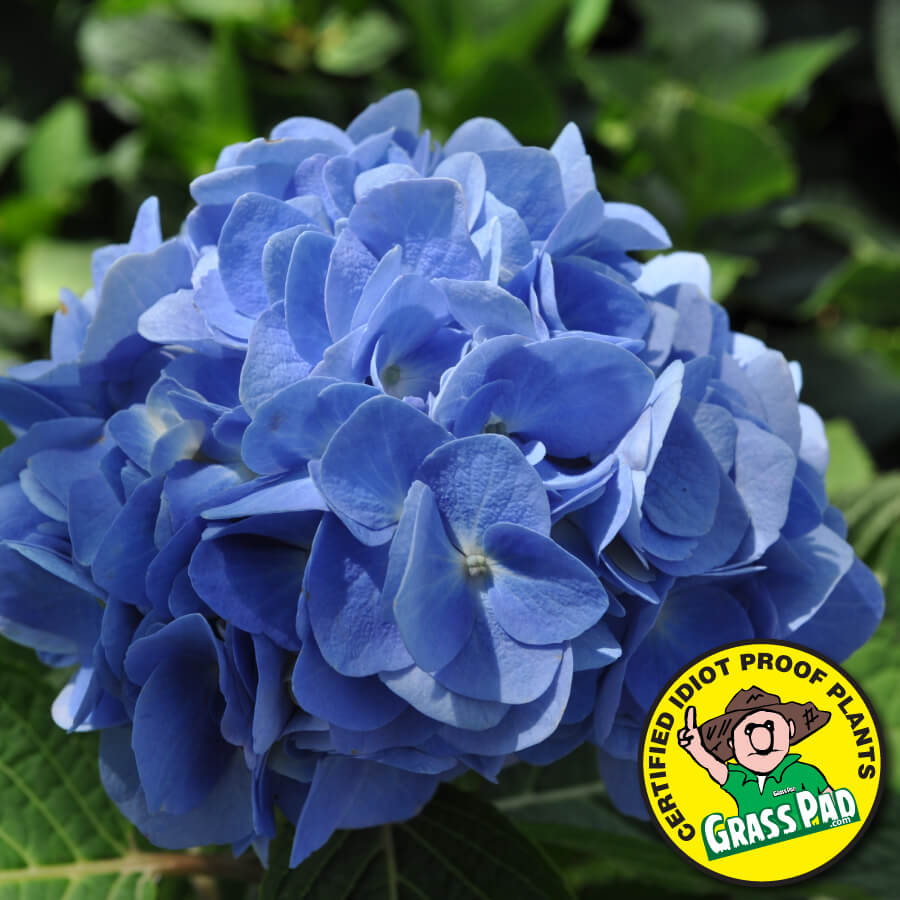
Those hydrangea with blue or pink flowers tend to be blue in acid soil conditions and pink in alkaline conditions. To get the best flower color, choose cultivars that give the best colors for the pH in question. White flowers will remain white regardless of soil pH as well as varieties with deep red blooms such as the Cityline ‘Paris’. Hydrangeas with blue flowers can be kept blue by growing the plants in acidic soil, or by acidifying soils. In soils where hydrangeas are not reliably blue, add aluminum sulfate. If the soil is very alkaline, this treatment may not work but can be very useful for container-grown plants. Use rainwater to water hydrangeas, since hard water can affect the flower color, turning blue flowers pink. Boost red or pink flowers, by applying granular lime in winter
How to Change Hydrangea Flower Color?
In pink and blue mophead-type hydrangea, the flower color is dependent on the pH balance of your soil and the presence (or lack of) aluminum: you’ll have clear pink blooms in alkaline soils and blue flowers in acidic soils. To obtain a blue hydrangea, aluminum must be present in the soil. To ensure that aluminum is present, aluminum sulfate may be added to the soil around the hydrangea a solution of 1 tablespoon of aluminum sulfate per gallon of water to be applied to the plant throughout the growing season. Important: Water your plants well in advance of application and put solution on cautiously, as too much can burn the roots. Another method for lowering the pH of the soil is to add large amounts of organic matter such as Uncle’s Max Mix to the soil when planting. For hydrangea blooms to be pink, the plants must not take up aluminum from the soil, if the soil naturally contains aluminum, one must try to keep it away from the hydrangea’s system. Add lime several times a year. This will help to raise the pH. Since hydrangeas take up aluminum best at lower pH levels, raising the pH will help to keep the bluing effect of aluminum out of the hydrangeas system.
What Are Reblooming Hydrangea?
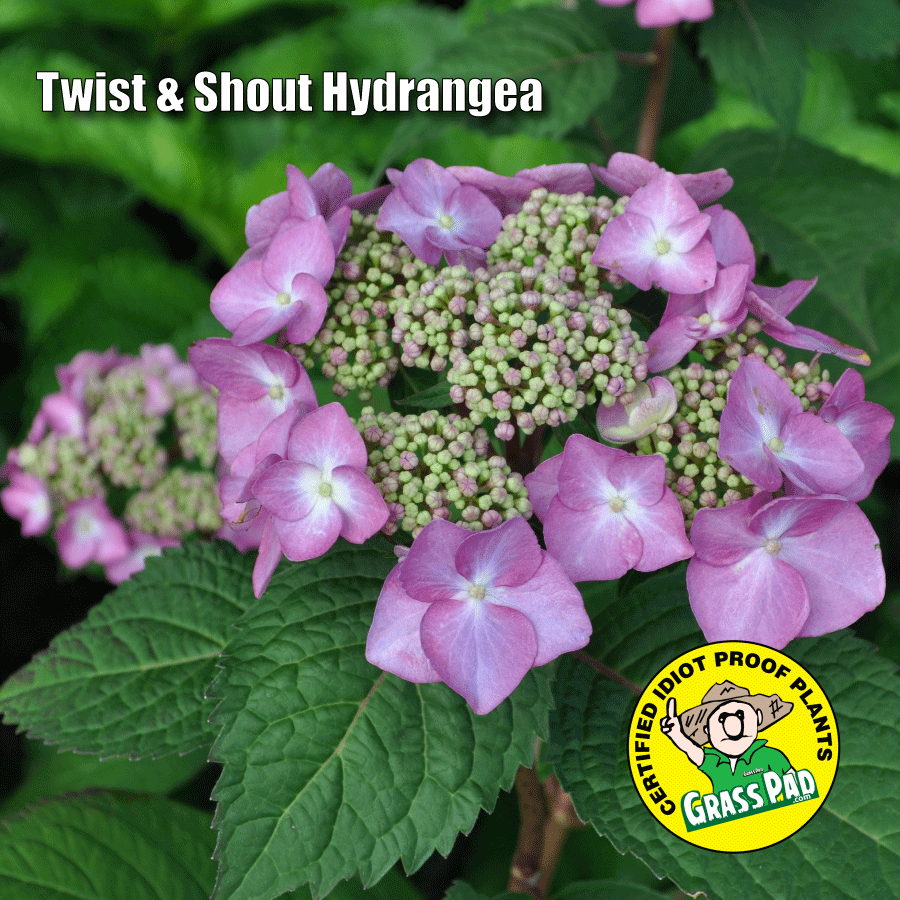
Reblooming hydrangeas give an advantage to gardeners in cold climates to enjoy hydrangea blooms despite cold winters. Reblooming hydrangeas have a unique ability to set buds on both new wood growth in spring and old wood in fall. If flower buds are damaged by winter weather, and damage is not too severe, the plant can produce flowers on new growth. Reblooming hydrangea varieties include the Endless Summer®, Bloom Struck, and Let’s Dance. These mophead and lacecap varieties, such as Twist and Shout®, Tuff Stuff™, and Tiny Tuff Stuff™ hydrangeas, will bloom with little attention. Still, regular pruning encourages new growth that can produce a better display.
Where to Plant Macrophylla Hydrangeas?
The flower mops range from four to six inches in garden conditions, and up to eight inches when planted in containers. Foliage is a medium-to-deep green, and has shown good mildew resistance. The plant grows three to five feet in width and height. It is partial to sun, enjoys a rich soil, and requires abundant water.
Because of their size and dense foliage, hydrangeas are treasured as shrubs and border plants. They can be used to define boundaries, create a planting “area,” or provide a backdrop for other flowering plants in your landscape. These big leaf hydrangeas thrive in moist but well-drained soil, preferring morning sun. Avoid planting macrophylla hydrangea (mophead and lacecap types) in dry, with full sun exposed areas, or unprotected areas where extreme cold winds may damage young spring growth.
Can I Plant Hydrangeas in the Sun?
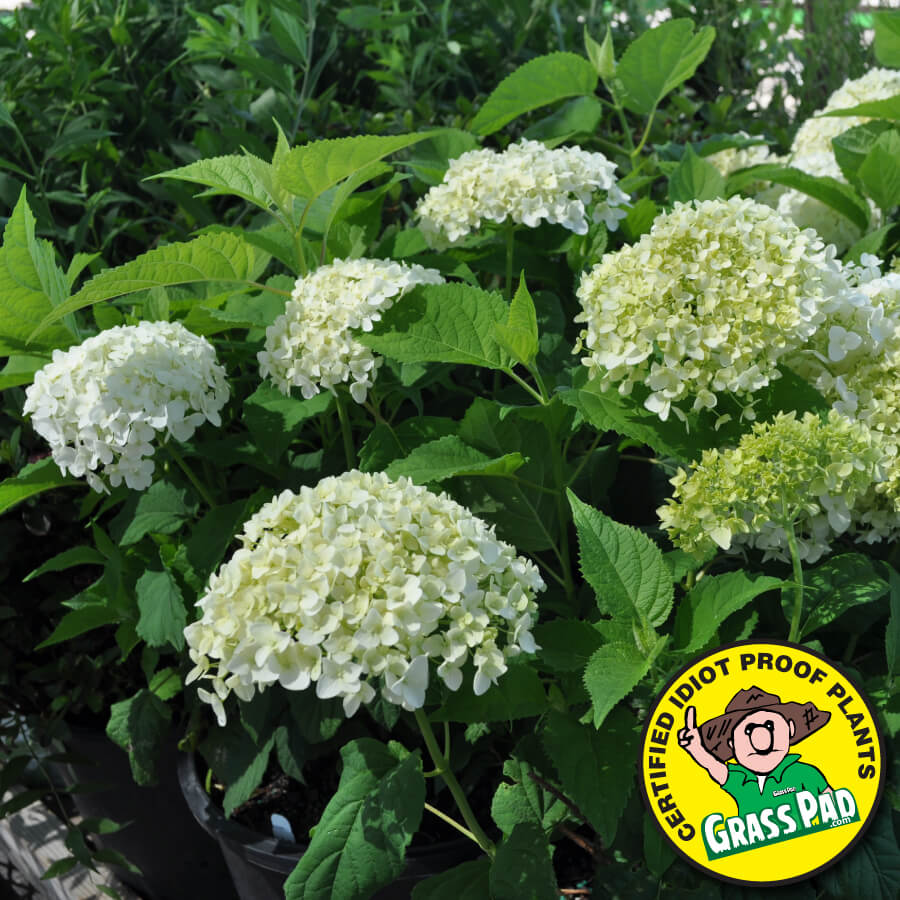
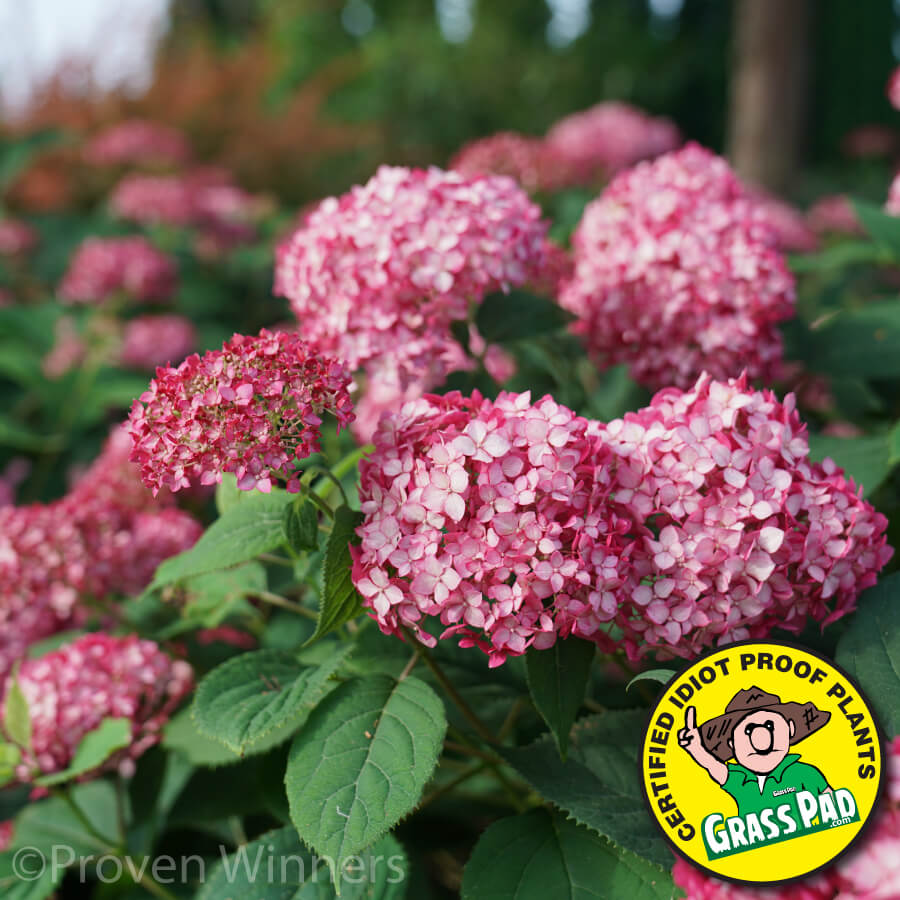
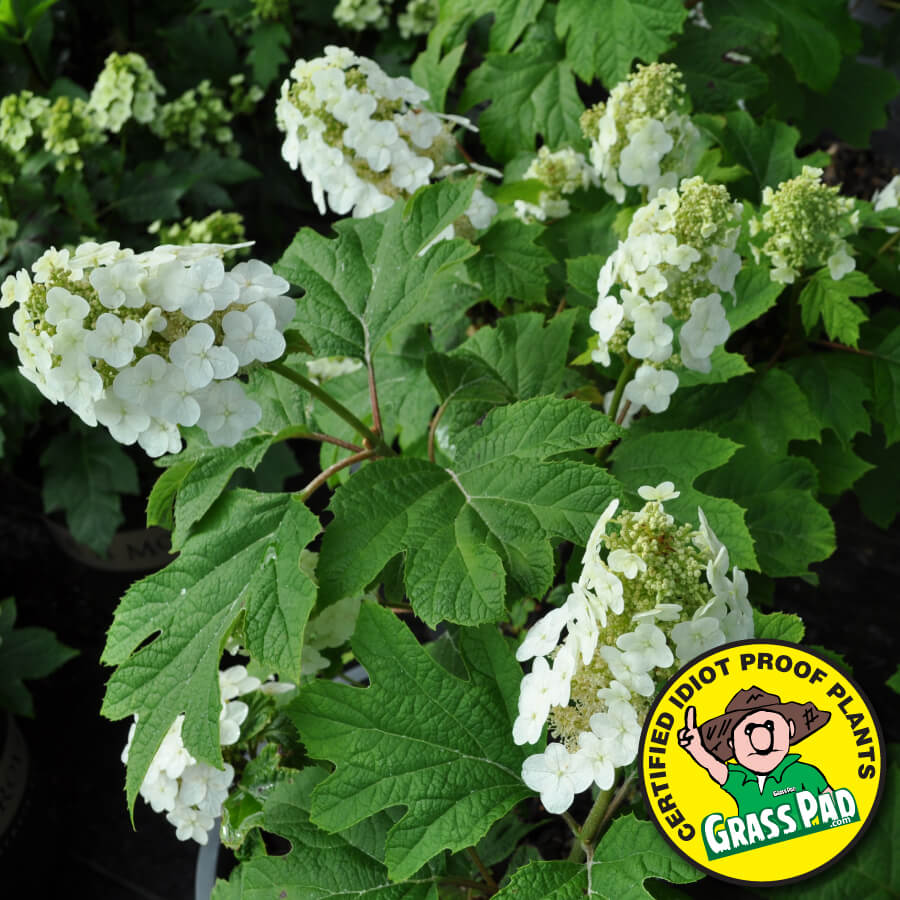
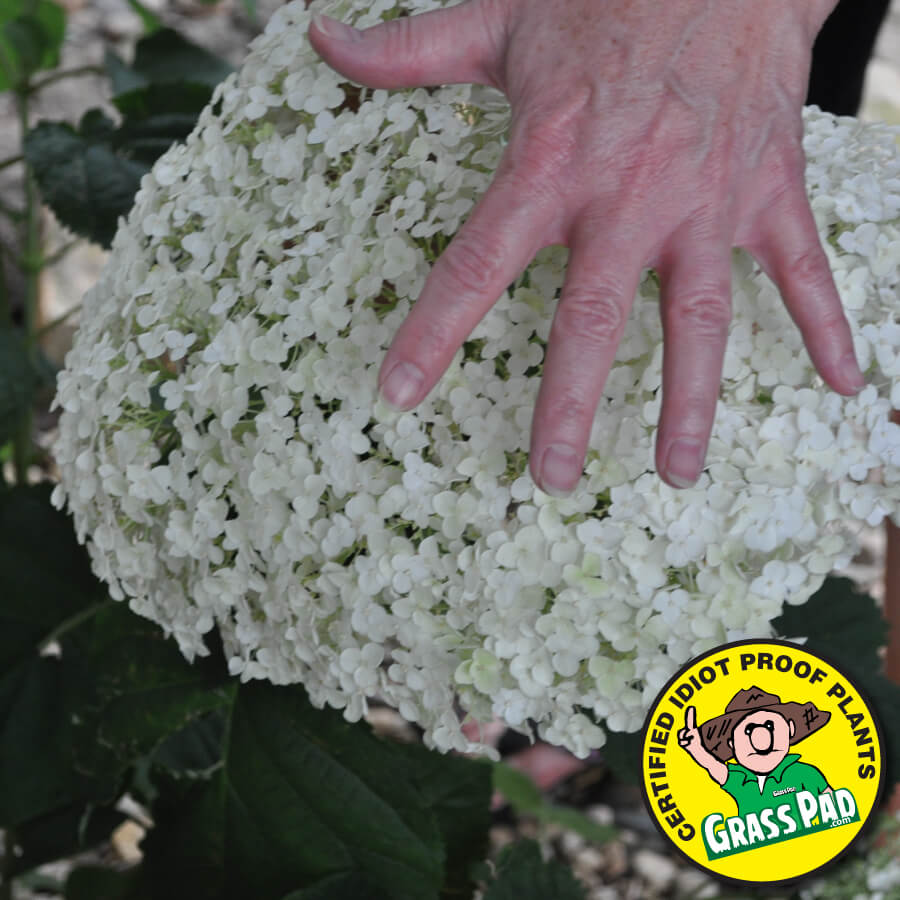
Uncle’s Idiot Proof hydrangeas are the panicle and arborescence (smooth) type hydrangea. These types are sun-lovers. While they prefer the sun, these hydrangeas will do just fine in partial shade, too. Both panicle and smooth hydrangeas, such as the white Annebelle, the Incrediball® and the red Invincebelle Ruby® hydrangea bloom late in summer on new wood. Unlike their famous shade-loving cousins, the macrophylla, or mop head hydrangea, which bloom on old wood. Hydrangea quercifolia, also known as Oakleaf hydrangeas, such as Alice and Ruby Slipper, are sun-loving hydrangea that flower on old wood growth.
New Hydrangea Varieties
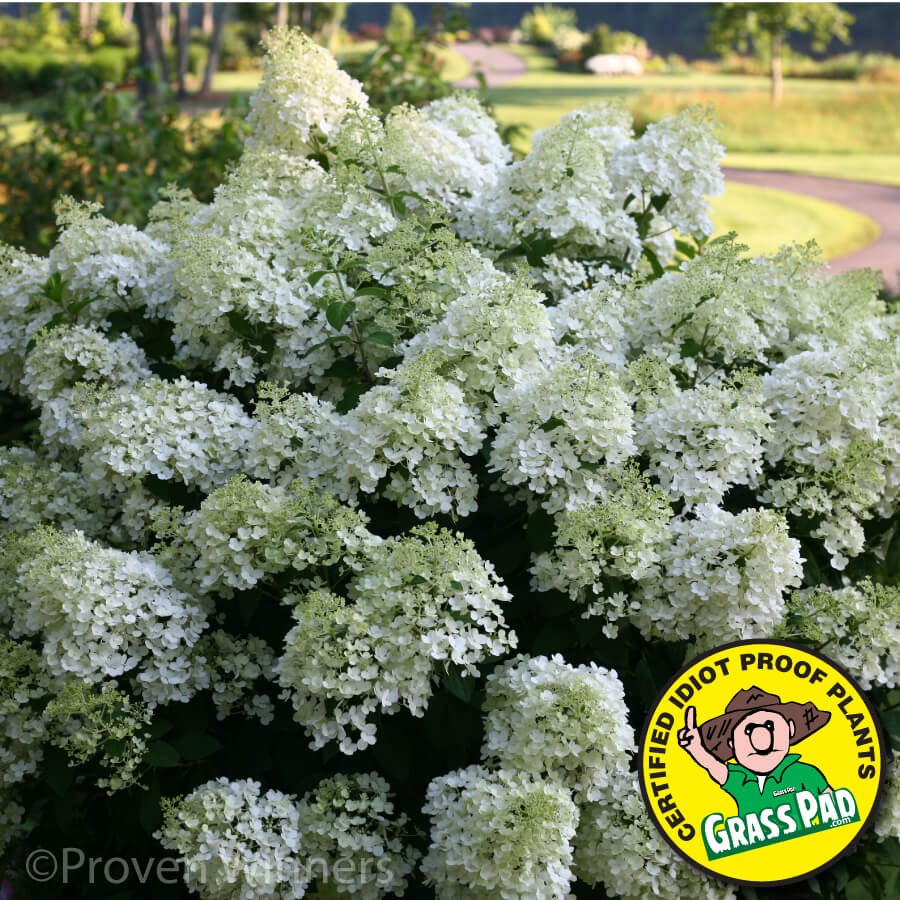
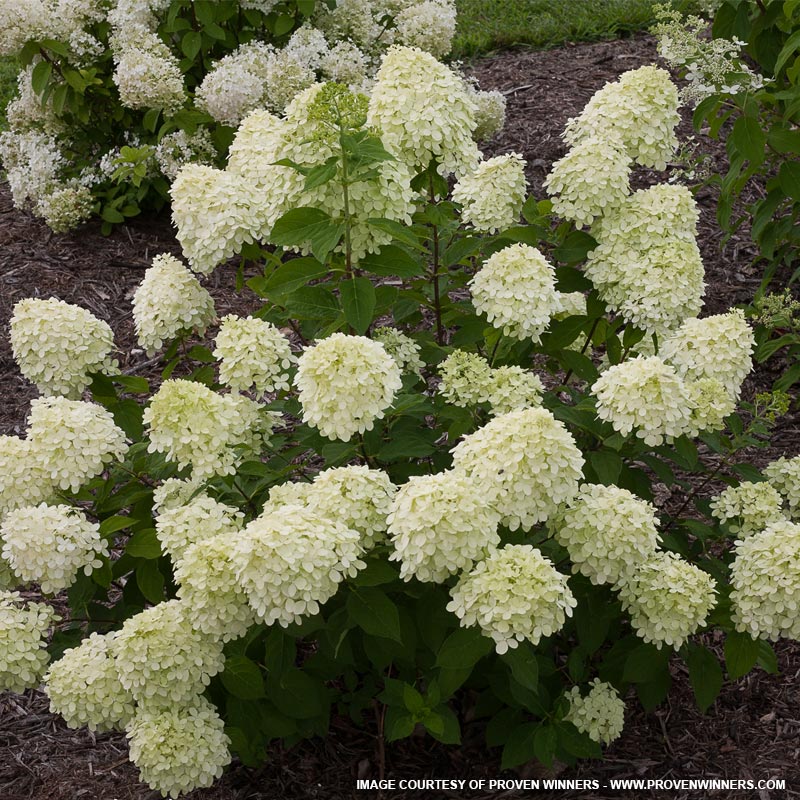
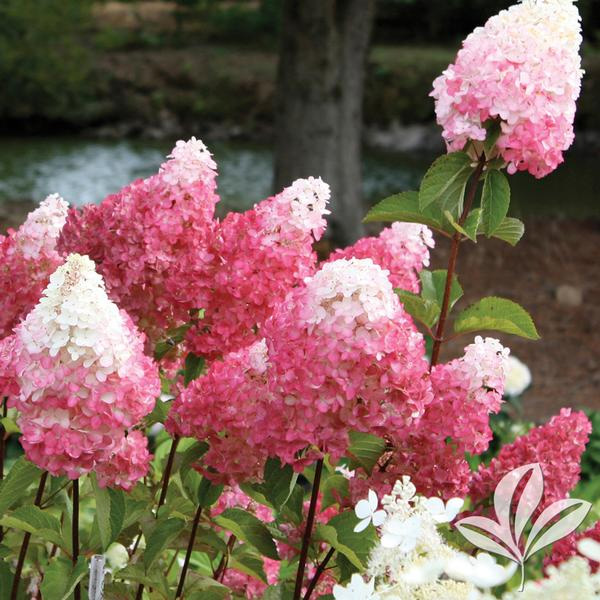
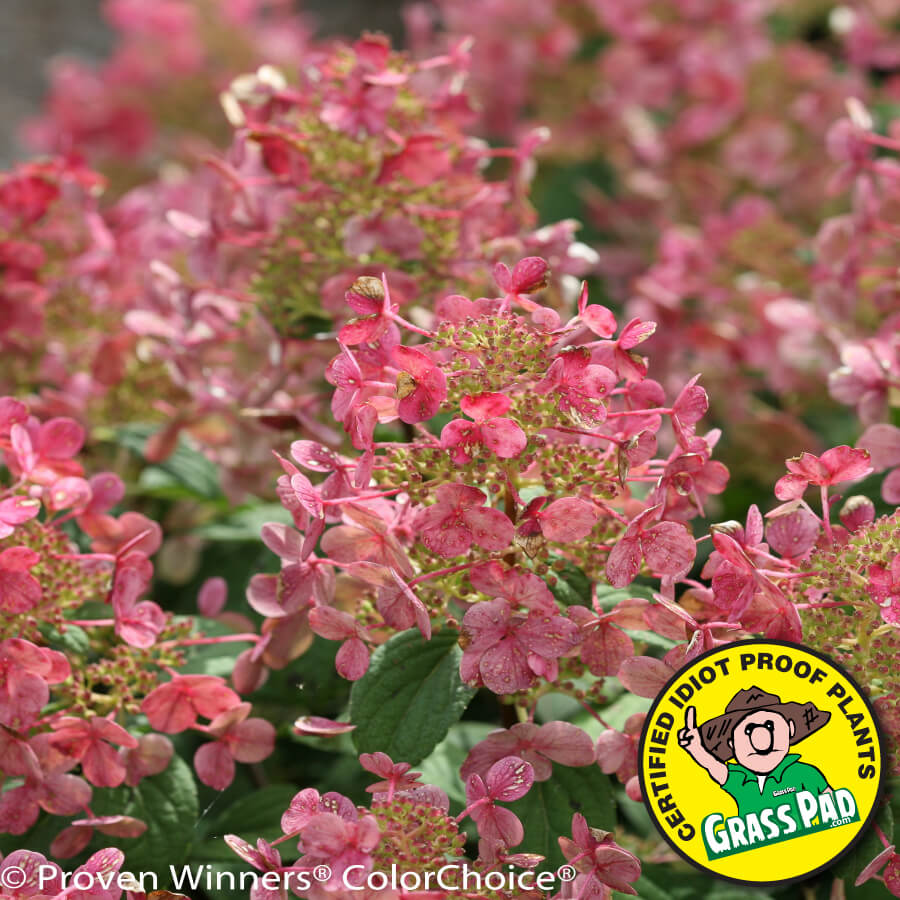
In the last few years, breeders have been developing many excellent varieties along with introducing new colors with bright whites, creams, lime green, and various shades of pink. Some of our most popular panicle hydrangeas are the Bobo, Quick Fire, and Limelight. Limelight, with its huge football-shaped flowers, has almost revolutionized landscaping across America. Opening into light green, the blooms age to a bouquet of pink, red, and burgundy persisting through frost. Breeders have recently introduced a sibling Little Limelight growing three to five feet tall and wide. Proven Winner’s panicle hydrangea collection includes Quick Fire and a dwarf version Little Quick Fire. One of the first hydrangeas to bloom, the Quick Fire bloom emerges bright white and as blooms age; they change color to pink and finally red, giving the plant a multicolored effect in late summer and early fall.
Why Won’t My Hydrangea Bloom?
Hydrangea failing to bloom is a common dilemma for many of the older varieties of macrophylla and oakleaf hydrangeas. An unseasonable hard freeze or an improper pruning is typically the cause. These hydrangea types bloom on old wood. Winters with extreme freezing temperatures can injure unprotected flower buds. A pre-winter routine to protect these big leaf hydrangea blooms is to pile fallen tree leaves over the top of the plant for winter bud protection. Pruning out of season, too late in winter or too early in spring, will result in cutting off flower buds formed the previous season.
When to Prune a Hydrangea?
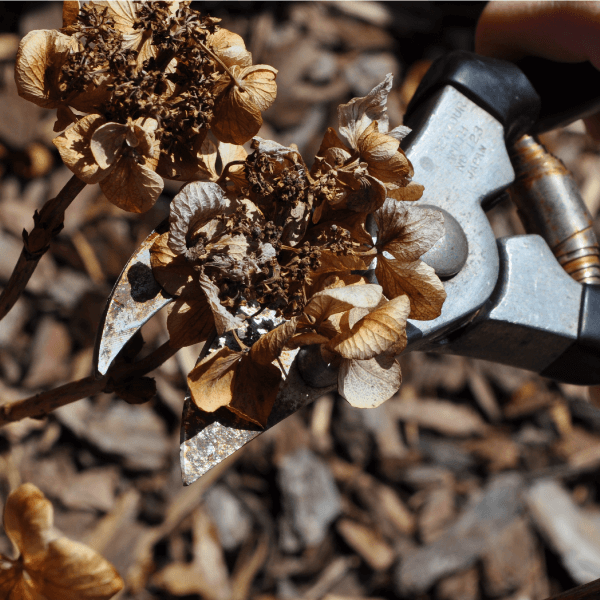
Panicle and arborescence hydrangea are the perfect idiot-proof hydrangeas. Blooming late in summer on new wood, they require no special mulching or pruning techniques to see blooms the next year. If you forget to prune a paniculata hydrangea the previous season, no worries, shape them up during the winter thaw or the following spring.
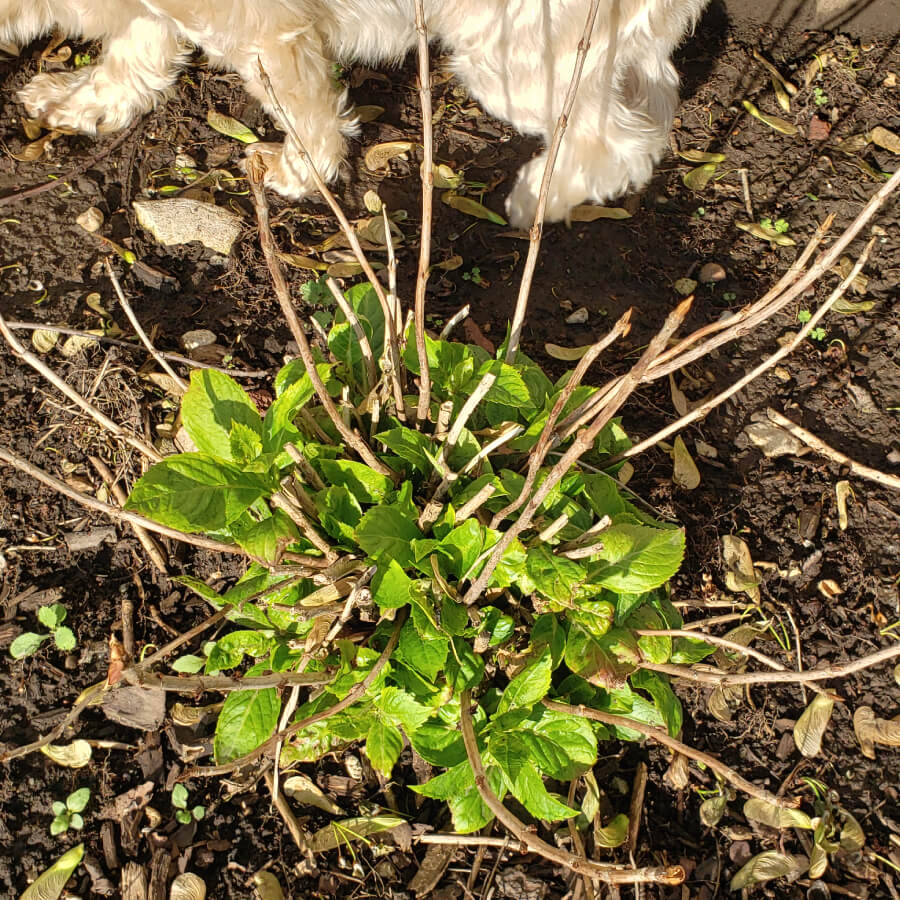
The same is not valid for its cousins, the macrophylla hydrangeas. Mophead, lace-cap and oakleaf varieties of hydrangea bloom on old wood and should be pruned soon after blooms fade in late summer to early fall.
When to prune Endless Summer Hydrangea?
Endless Summer hydrangea needs very little pruning through the seasons. However, early spring is a good time if you must shape them. Wait to cut until you see new growth on the stem. Endless Summer blooms on old and new wood. Be careful not to prune off any early-season blooms. If the buds and branches are brown and crunchy, you can remove those, but leave any that are green and soft.
What Is the Best Way to Plant Hydrangea?
When planting a hydrangea, use a balanced blend of Uncle’s Max Mix, mixed with native soil as backfill. Add organic matter after planting by using Uncle’s Black Magic peat compost as a top dressing. Consider using pine bark mulch to help soil acidity for mophead varieties.
Fertilize hydrangeas with Uncle’s Root Accelerator, low nitrogen plant starter, at planting. Avoid feeding too often, with high nitrogen fertilizers, which can encourage excessive leaf growth, with plants less likely to develop flower buds and more at risk from winter damage.
More Related Articles to Hydrangeas:
Uncle’s Root Accelerator – Keeping Plants Healthy
- Uncle’s Root Accelerator gives plants a healthy start. Learn More at this Link
Uncle’s Max Mix – The Secret is in the Soil
- Uncle’s Max Mix is a premium-grade horticultural planting mix. Learn More at this Link
Grass Pad Nursery Stock
- Search Idiot-Proof plant selections available at Grass Pad. Learn more at this link.
How to Fertilize for Healthy Trees and Shrubs
- Tips for fertilizing new and existing shrubs in landscapes. Learn more at this link.
Guide to Planting Trees and Shrubs
- How to plant trees and shrubs for best results. Learn more at this link.
Cold Snaps Are a Part of Spring
How To Protect Plants Against Cold Spring Weather
It’s the same thing every spring, a few warm days in March has everyone in the mood to get out of their winter doldrums. Our customers are happy to get out of the house and get into the yard. Clean out the garden bed, prune the shrubs, mow the lawn and rake leaves.
Then like a kick in your shorts, a late freeze comes along. Now everyone is stressed about all those pansies they just planted or the daffodils in bloom. An early spring freeze is nothing new for our region. Just one of those reminders, it’s not spring ‘til Mother Nature says it’s spring. Here are some things that can help ease your stress.
Established Wood Shrubs and Perennial Care
Don’t lose sleep over established woody shrubs or perennials. Some things you just can’t control. Mother Nature always has a way of looking after her own. Established plants will have stored energy to grow a second generation of leaves.
Should I Cover My Flowers?
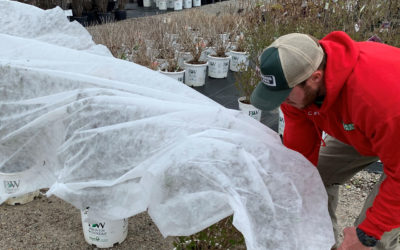
Covering your flowering plants with a cloth or blanket can give an extra 4 to 5 degree difference. It doesn’t sound like much, but it is a big difference. If you choose to cover your plants, make sure the entire plant is covered and DO NOT USE PLASTIC. Be careful not to overweight any limbs and branches. If you are not careful, more damage can be done from covering them, than the freezing temperature.
Why not plastic?
Never use plastic of any kind, including black plastic garbage bags, to cover plants, as plastic conducts cold to the leaves and will increase the likelihood of damage to the plant. Old sheets, blankets, drop cloths and special frost protection blankets work best.
What About my Perennials?
Hardy and well-established perennials such as daffodils, tulips, daylily, and iris can usually handle overnight dips nearing the mid 20°s with minimal damage. However, sustained cold temperatures, especially nearer the teens, can cause injury. Most of the time, this would result in cellular wall damage. If the plant was mature and well established; the plant will typically produce new shoots and grow out of it. They may be a little sluggish to perform at first, but a monthly application of Root Accelerator should help them reestablish.
Peony and hosta have tender new foliage, and it may be best to push mulch up around the sides and base of the plant to give support and cover them with a frost blanket or cloth sheet (NEVER USE PLASTIC). Another trick my Mother used was to set clay garden pots and 5-gallon buckets upside down over the plant. Be careful not to let the plants touch the sides of a plastic container.
What About My Annuals & Vegetables?
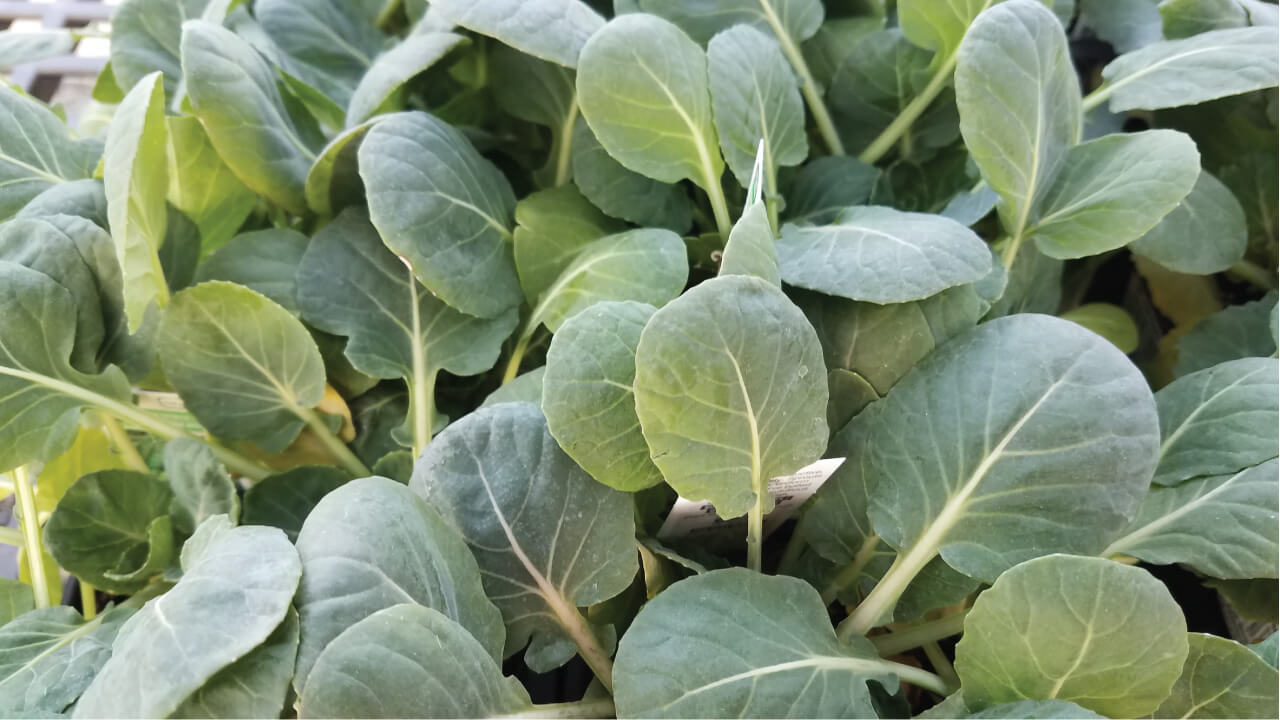
If you have pansies in the garden or in a container, chances are they look amazing. Cold weather snaps of short duration should not have any affect on the pansies. Annuals that are more sensitive to the cold and should have protection or brought inside are zinnia, vinca, and sweet potato vine. Cold hardy vegetables such as broccoli, cabbage, cauliflower and most lettuce should be fine in temporary freezing temperatures. Tomatoes and peppers are more sensitive to cold snaps and may need protection.
Expect the Worst, Hope for the Best
The real damage won’t be realized for several days. If signs of damaged tissue appear, fertilizer will be needed to replace expended food storage. The supply of stored energy is limited and will take time and supplemental nutrients to replace.
Fertilize Flower Beds and New Trees
This will help them begin the process of replenishing depleted energy reserves. In two weeks remove dead and black tips that show no sign of new growth. A positive side is we have plenty of time for new growth to return. The loss of fruit may be a good thing for certain crabapples and Sweet Gum trees.
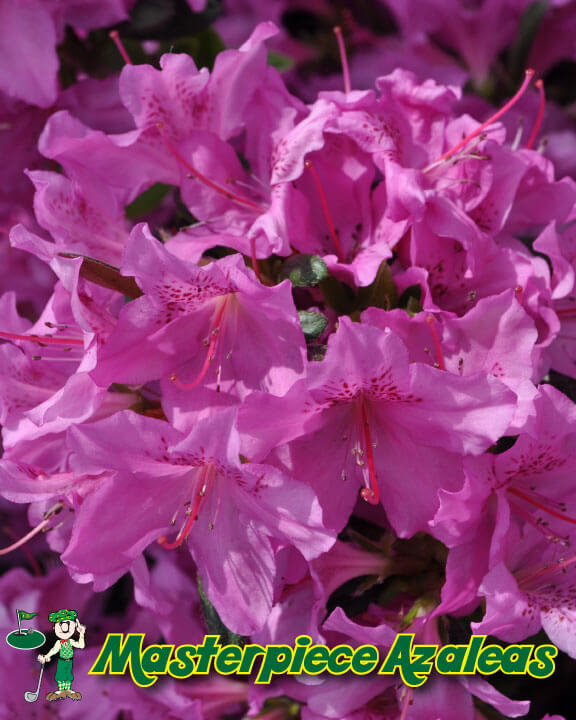
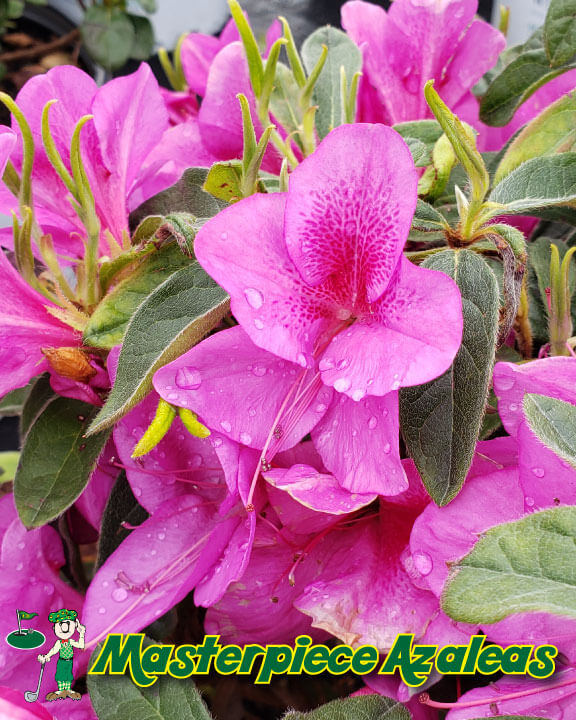
Spring Blooming Azaleas and Rhododendron
Each April, spectators around the globe would watch the most famous major championship in professional golf. We would stare in amazement at the pristine greens and manicured fairways of the iconic American golf course located in Augusta Georgia. On Sunday, the accolades would go to the champion along with his green jacket, but the real winner of the tournament was always Mother Nature and her green thumb. Mother Nature with her azaleas, rhododendron, and dogwood lining the course in full spring splendor. Every green and fairway beautifully carved from the Georgian hill country designed to add color and texture to a stunning backdrop. If you’ve never witnessed the glory of hole 13, Azalea, it’s worth watching just for its beauty and elegance. The 13th hole has an estimated 1,600 azalea bushes.
Where Can I Plant Azaleas?
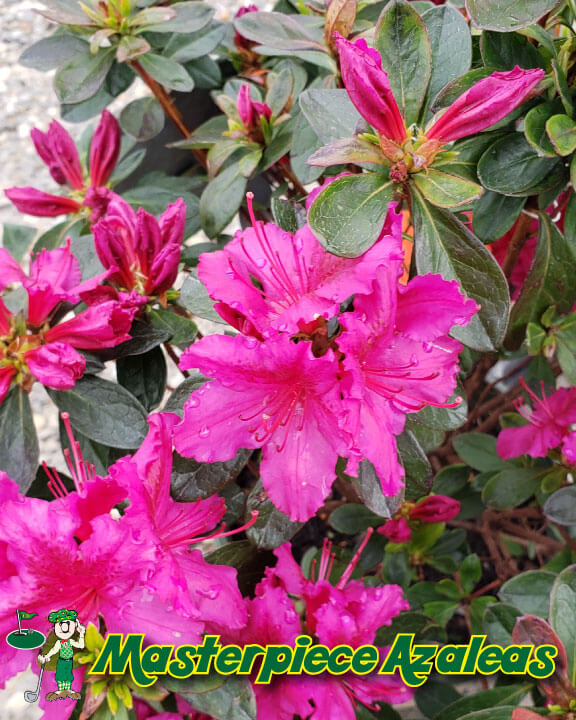
Looking to add flower color and an oriental flavor to your shady spot? Azaleas and Rhododendron are just the thing. Often underappreciated, azaleas will make your backyard a masterpiece in brilliant colors. Spring flowering, azaleas are shade-loving evergreen shrubs that will do well in many mid-west landscapes. Best as foundation plantings on the north or east sides of the home or under any shade canopy.
What Are the Best Mid-West Performing Azaleas?
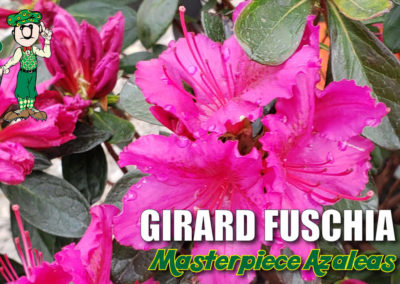
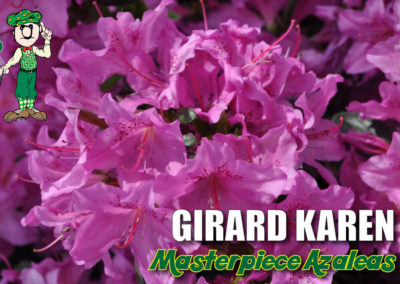
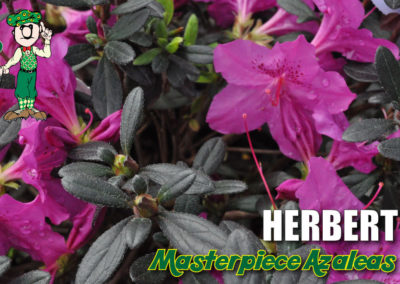
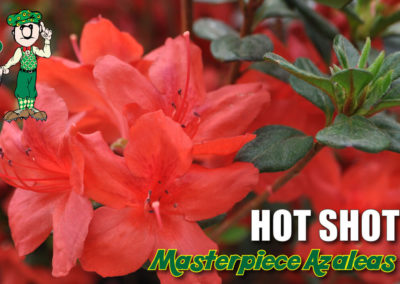
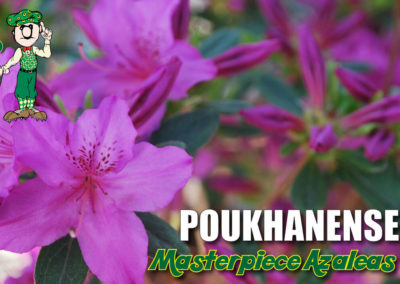
Best performing azaleas varieties for the mid-west include the Herbert, Karen, and Hot-Shot. These compact evergreen azaleas will reach a mature height of 3-4 feet under ideal conditions. The Yedonese or Poukhanense Compact Korean azaleas with its purple flowers and evergreen leaf can reach five feet tall.
When Do Azaleas and Rhododendron Bloom?
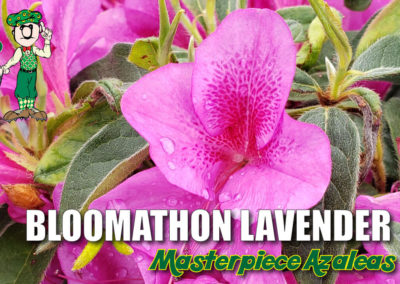
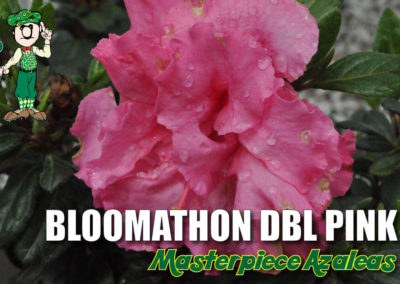
Most azaleas bloom for a few weeks in early spring. Many new re-blooming varieties of azaleas have been popular in the last few years. Proven Winners latest Bloom-A-Thon Double Pink, Lavender, and Red azaleas are establishing themselves as one of the most outstanding re-bloomers. Blooming in spring, with sporadic summer flowers and then a massive re-blooming in early fall.
What Are the Best Performing Rhododendrons?
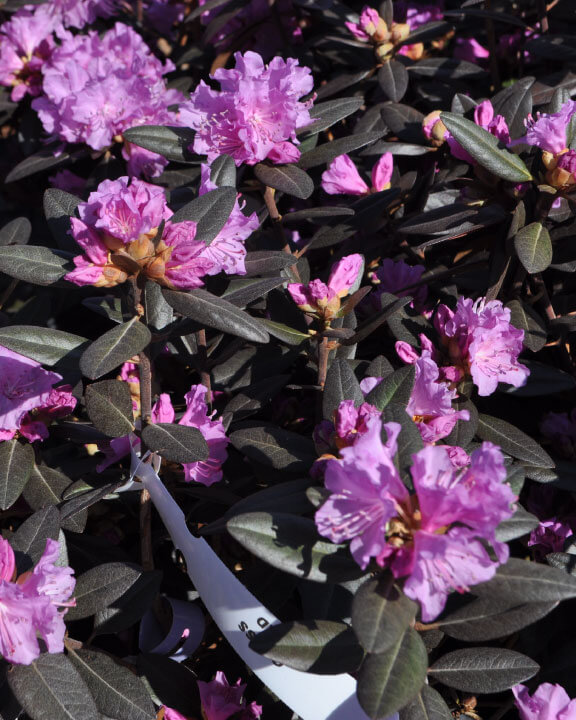
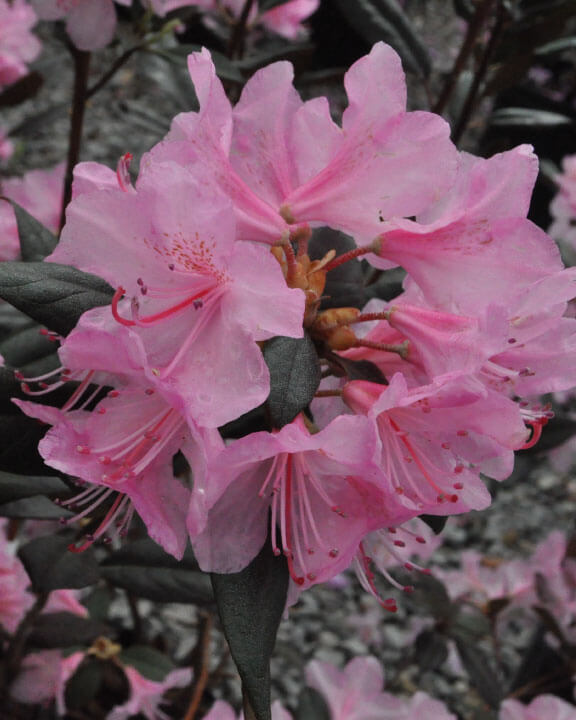
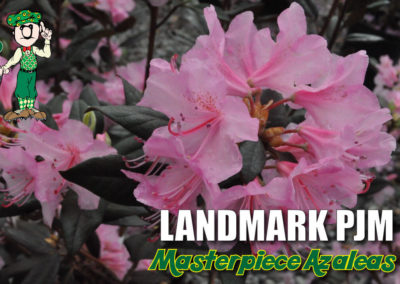
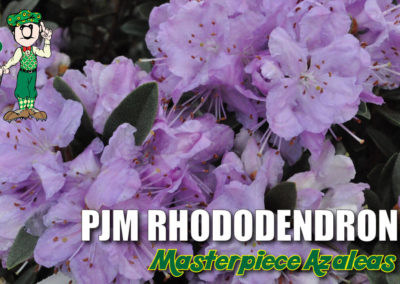
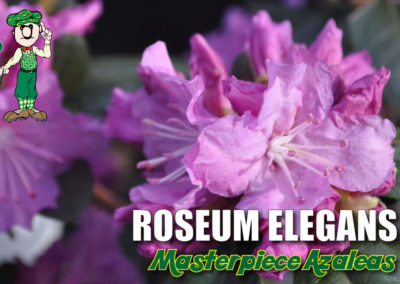
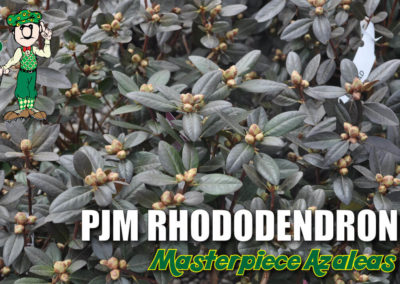
Best performing rhododendron varieties include the PJM Elite, Lee’s Dark Purple, Nova Zembla and Roseum Elegans. The PJM rhododendron is a smaller leafed variety that shows a purple flower in the spring and deep mahogany-purple leaf color through the winter months. The PJM has smaller blossoms, lower growth profile and is extremely winter hardy. The intials PJM stand for Peter J. Mezitt who was a pioneer in cross breeding rhododendron cultivars.
Caring for Azaleas and Rhododendron
Just like Uncle, azaleas and rhododendrons are acid lovers. Azaleas and rhododendron prefer well-drained soil. When planting, amend your soil with Max Mix, a blended natural compost to improve drainage and acidity in the soil. In areas, with poor drainage, a raised bed may be needed. Mulch with pine bark mulch, a naturally acidic mulch. Fertilize with Uncle’s Green Love, organic fertilizer, to give them the iron they need. Keep a soil test kit handy to check your soil’s acidity, and with a little extra effort up front, you can bring color and class to your shady spot.
More Related Articles to Azaleas & Rhododendron:
Uncle’s Root Accelerator – Keeping Plants Healthy
- Uncle’s Root Accelerator gives plants a healthy start. Learn More at this Link
Uncle’s Max Mix – The Secret is in the Soil
- Uncle’s Max Mix is a premium-grade horticultural planting mix. Learn More at this Link
Grass Pad Nursery Stock
- Search Idiot-Proof plant selections available at Grass Pad. Learn more at this link.
How to Fertilize for Healthy Trees and Shrubs
- Tips for fertilizing new and existing shrubs in landscapes. Learn more at this link.
Guide to Planting Trees and Shrubs
- How to plant trees and shrubs for best results. Learn more at this link.
Best Magnolia Trees to Plant in the Midwest
Magnolia Trees are Idiot-Proof Plants
Magnolia trees are among the hardiest and long-lived ornamental trees in the midwest. Incidentally, magnolias are low-maintenance and require no pruning. Also, magnolias do not drop obnoxious seeds and have no serious insect or disease issues. Adored for their spectacular spring flowers and sweet fragrances, magnolias in the landscape can be utilized as a specimen for a featured focal point or used as accent shrubs and make effective living fences. Ranging in colors from white, pink, purple, and even yellow. Heights range from ten to fifty feet. Types of magnolias include elegant evergreen with glossy foliage to deciduous shrub types. Having such a wide selection of varieties of magnolias available, there will likely be a magnolia to fit any sunny spot you may have available.
Royal Star Magnolia
(Magnolia Stellata)
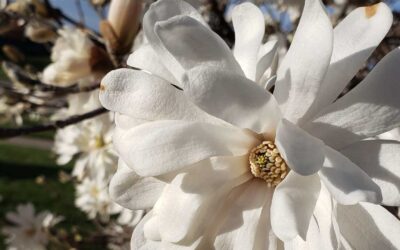
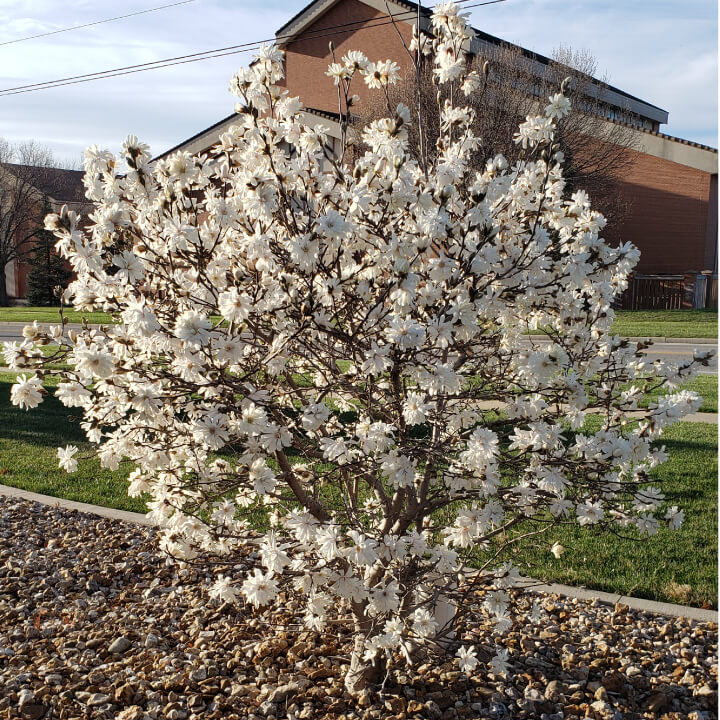
The Royal Star magnolia blooms early in spring. Large, fragrant, white, double flowers appear before the foliage emerges. A springtime show that will add a beautiful touch to landscapes as the seasons progress.
‘Jane’ Magnolia
(Magnolia liliflora’Reflorescens’ x stellate ‘Waterlilly’)
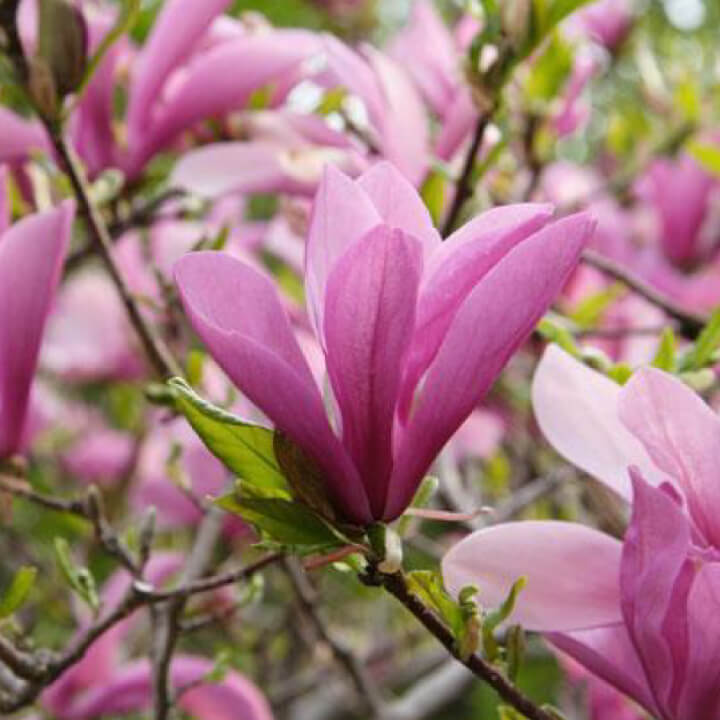
Jane Magnolia is deciduous and drops its leaves in winter. ‘Jane’ magnolia is a hybrid cross of Magnolia lillifora and Magnolia Stellata. This combination creates a compact habit with beautiful reddish-purple flowers. Occasionally reblooming in mid-summer.
Saucer Magnolia
(Magnolia x soulangiana)
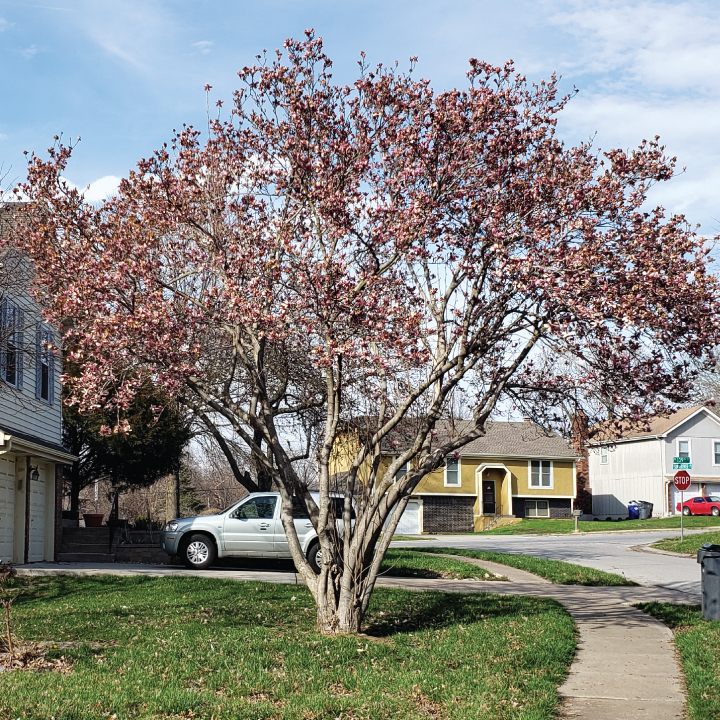
The Saucer Magnolia is our most popular magnolia. Growing to a height up to 25 feet tall. Large pink-to-white flowers bloom from its low-hanging branches in early spring. Flowers resemble an upside-down tulips and are often confused for the Tulip tree (Liriodendron tulipifera).
‘Genie’ Magnolia
(Magnolia soulangeana x lilifora ‘Genie’)
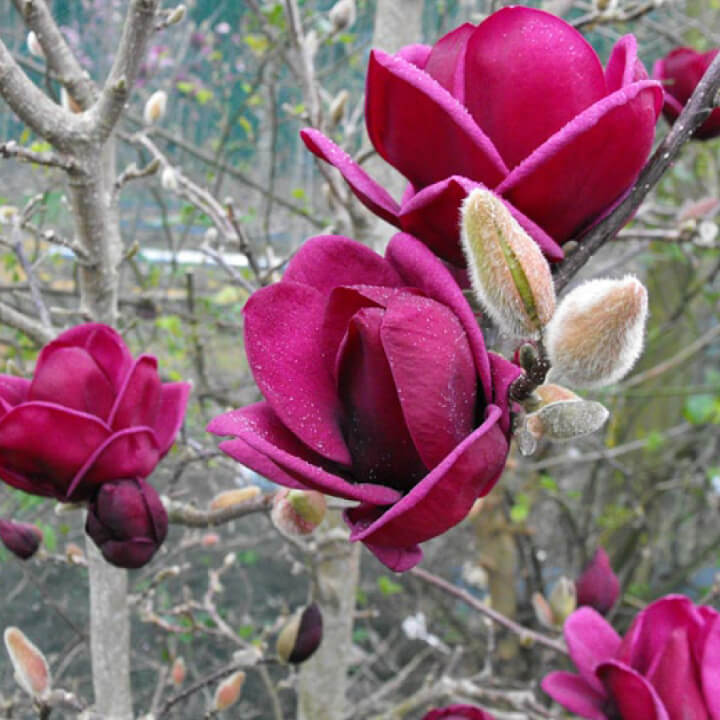
‘Genie’ Magnolia also blooms in early spring. Bursting with beautiful blackish-red tulip-shaped flowers with a light scent. They are often followed by a second round of color in Mid-Summer. ‘Genie’ Magnolia grows upright, forming a tall shrub or compact tree. The ‘Genie’ magnolia has an average height of ten to twelve feet.
Sweet Bay Magnolia
(Magnolia virginiana)
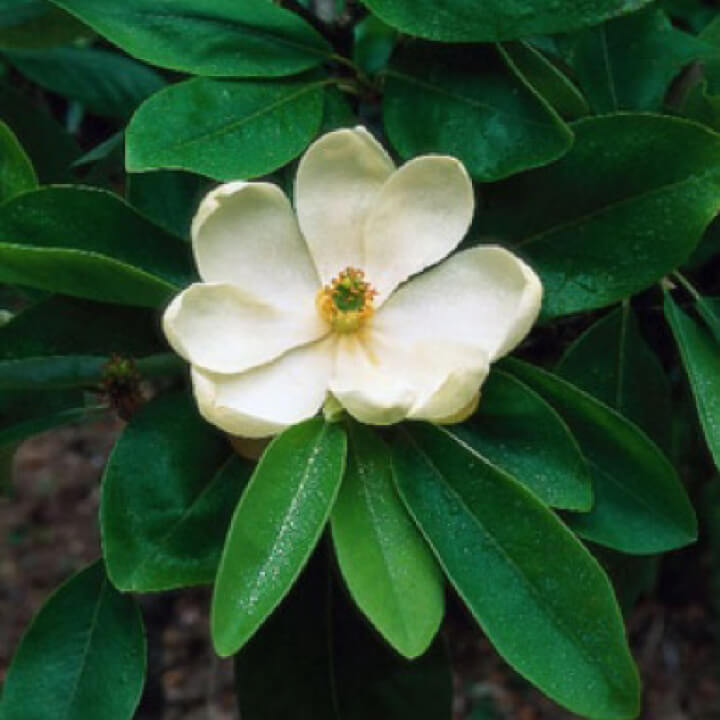
The Sweet Bay Magnolia is an upright-growing semi-evergreen. Keeping some of its leaves through most of the winter. Their long oval leaf is glossy green on top and has a silvery underside. Their creamy white flowers measure two to three inches in diameter. Interestingly, they open in the morning and close overnight. The Sweet Bay bloom during summer, intermittently until the first frost.
Bracken’s Brown Beauty
(Magnolia grandiflora ‘Bracken’s Brown Beauty’)
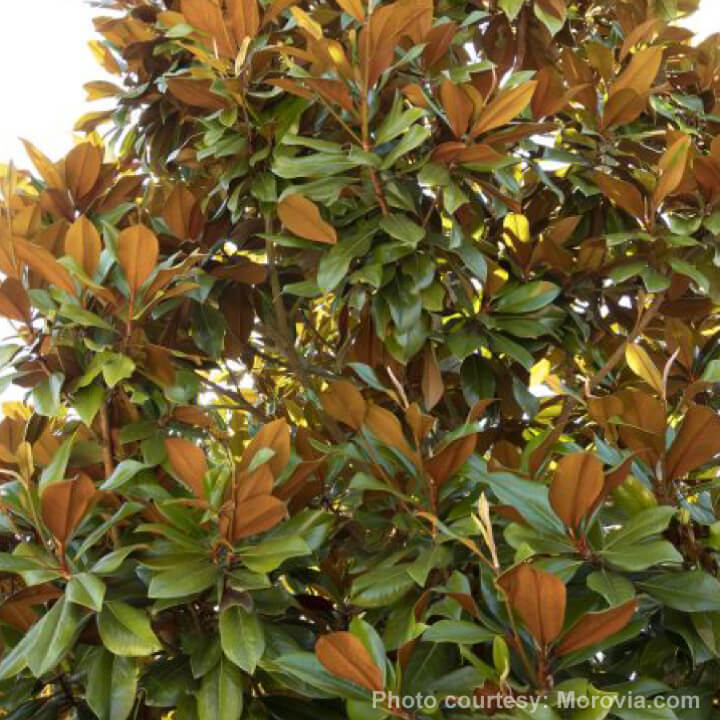
Bracken’s Brown Beauty is your best choice if you love the elegant look of the old south. Bracken’s Brown Beauty has a dark green glossy leaf with a fuzzy red-brown underside. Blooming in late spring and then sporadically through summer. Large creamy white flowers eight-inch-in-diameter. Fowers open with a citrusy perfume fragrance, eventually forming a cone. The cone ripens fall and winter to bright red seeds.
More related articles to Magnolias
Guide to Planting Trees and Shrubs
- How to plant trees and shrubs for best results. Learn more at this link.
How to Fertilize for Healthy Trees and Shrubs
- Tips for fertilizing new and existing shrubs in your lawn or landscape. Learn more at this link.
Azaleas make the Ultimate Spring Flower Show.
- Azaleas are the showstoppers of spring color in the landscape. Learn more at this link.
- Search Idiot-Proof plant selections available at Grass Pad. Learn more at this link.
Bare Root Gardening
Bare Root Plant Stock
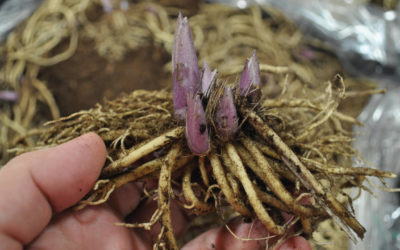
Landscape plants of all kinds, including flowering shrubs, English garden Hosta, bleeding heart, lily of the valley, and dozens more start out their lives in the nursery as bare root plant stock. These unattractive plants, roots, and bulbs are then potted and grown until they become the beautiful full-grown plants sold in landscape nurseries and garden centers. Like the ugly duckling at birth, they transform into a white swan.
Save Money Planting Bare Root
Planting this nursery root-stock now can save fifty to eighty per-cent over mature plants purchased later in May. Likewise, plant material purchased locally is more substantial and of a higher grade than dried out catalog starters obtained by the internet. If you find a picture you like in an online garden catalog, save it to your phone and bring it to the Grass Pad. We probably have it and can tell you if it will do well in your area.
Spring Flowering Bulbs and Tubers
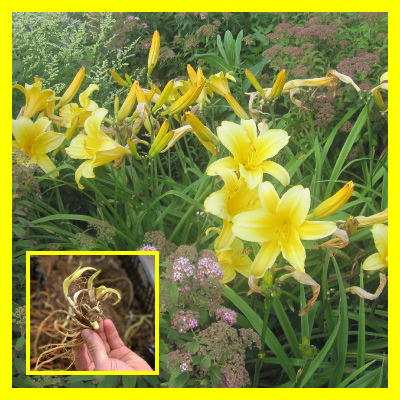
Lily of the valley, bleeding hearts, and astilbe all do well in mixed shade and start from the root stock. Tropical caladiums bulbs and elephant ears also prefer a sheltered spot and will multiply in warm moist soil. The beautiful Belladonna or Naked Lady may be purchased now as a bulb at significant cost savings. A rainbow of flowering plants: daylilies, gladiolas, and dahlias may be planted now and will bloom this year.
Bare Root Hosta
Bare Root Daylily
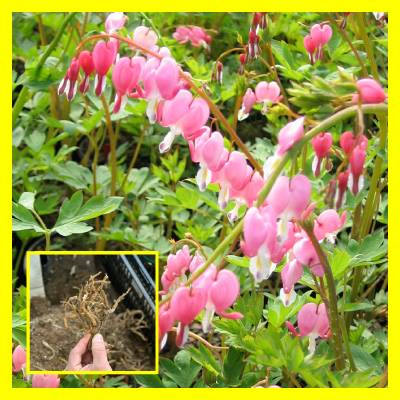
Bare Root Dicentra
Idiot Proof Bare Root Hosta
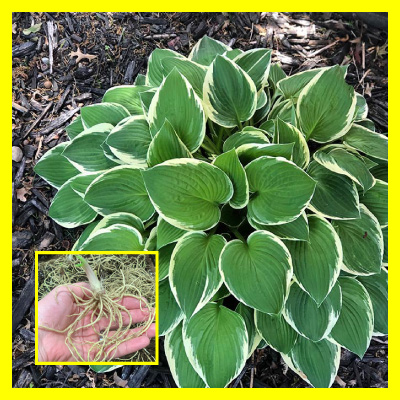
English garden hosta lilies are as close to “Idiot Proof” as a plant can get. These tufted leafy plants are grown for both their distinctive foliage and seasonal flowers. Their foliage will vary from deep green to bright yellow, as well as dozens of various combinations in between and vary between 2 inches to 4 feet tall . Their leaves may be large, small, radial, or oval.
For our climate, Hostas grow best in the shade, although some cultivars will tolerate partial sun, such as the yellow-foliaged varieties. All hostas bloom in the summer with spikes of lavender-to-white, lily-like flowers which can be quite showy. Hostas prefer well-drained soils and once established are drought tolerant, but prefer regular moisture for best appearance and size.
How to Plant Bare Root Hostas
Before planting the hostas, place the roots in water which has been spiked with Uncle’s Root Accelerator. The bare roots should soak for 30 minutes in the solution. This will make the roots more pliable and give an added boost to growth. When making a new hosta bed, cultivate to a depth of 10 inches. Apply six inches of organic matter like Max Mix or Sphagnum Peat Moss and till the ammendments into the bed. Dig the planting hole and form a small cone in the bottom of the hole and spread the roots over it. Make sure the crown is at soil level (do not bury the crown) and add the amended soil. Water the plants well after planting.
Idiot Proof Planting Kit
An “Idiot Proof,” bare root planting kit, includes Max Mix Grass Pad’s professional landscape mix or sphagnum peat. These should be worked into the soil to a depth of six to eight inches. Follow this with Uncle’s Root Accelerator once at planting and again at thirty-day intervals. Also, organic Zoom, poultry manure compost, is an excellent nutrient source for new annuals and established perennials.
At midsummer, potted nursery plants will cost as much as twenty dollars. The Grass Pad has a terrific selection of bare root plants that can be quickly established and represent a real value.
See Related: What is Uncle’s Root Accelerator?
Skinny Trees for Skinny Spaces
Houses are being built closer and closer together, and we often don’t have room for big, spreading trees. Planting any tree is going to be a challenge in new suburban home landscapes, but nature has the answer. Small outdoor areas, like tiny backyards or small planting islands, like those found between a sidewalk and a street, call for skinny trees. Narrow, columnar trees are also useful for designing an attractive privacy screen, wind block, or sound block. As well as being tall, skinny trees generally don’t have invasive roots, don’t need regular pruning and don’t rob all the light by creating dense shade.
Modern living has us making the most of every bit of landscape space we can. So if you are looking for something unique and have that difficult tight space, try columnar, or fastigiate, trees that have narrow, single trunks. Their natural shape makes them useful in areas with little available space for planting, as well as in areas near a house or deck where spreading trees are impractical. When planted in rows, these erect, uniform trees can also bring a classic, formal look to street sides, garden paths and long driveways.
Here are four of Uncle’s favorite skinny trees. If your landscape has limited space, but you need some vertical visual interest, then these skinny trees are just for you. Not all varieties are available at all locations. For more information about skinny trees or questions about current nursery inventory, please call and speak with one of our experienced nursery staff.
See Related: Evergreens for Living Fences
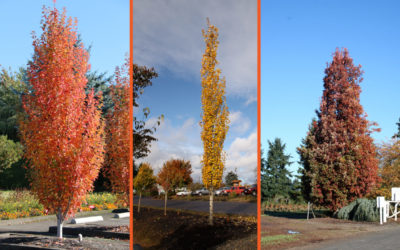
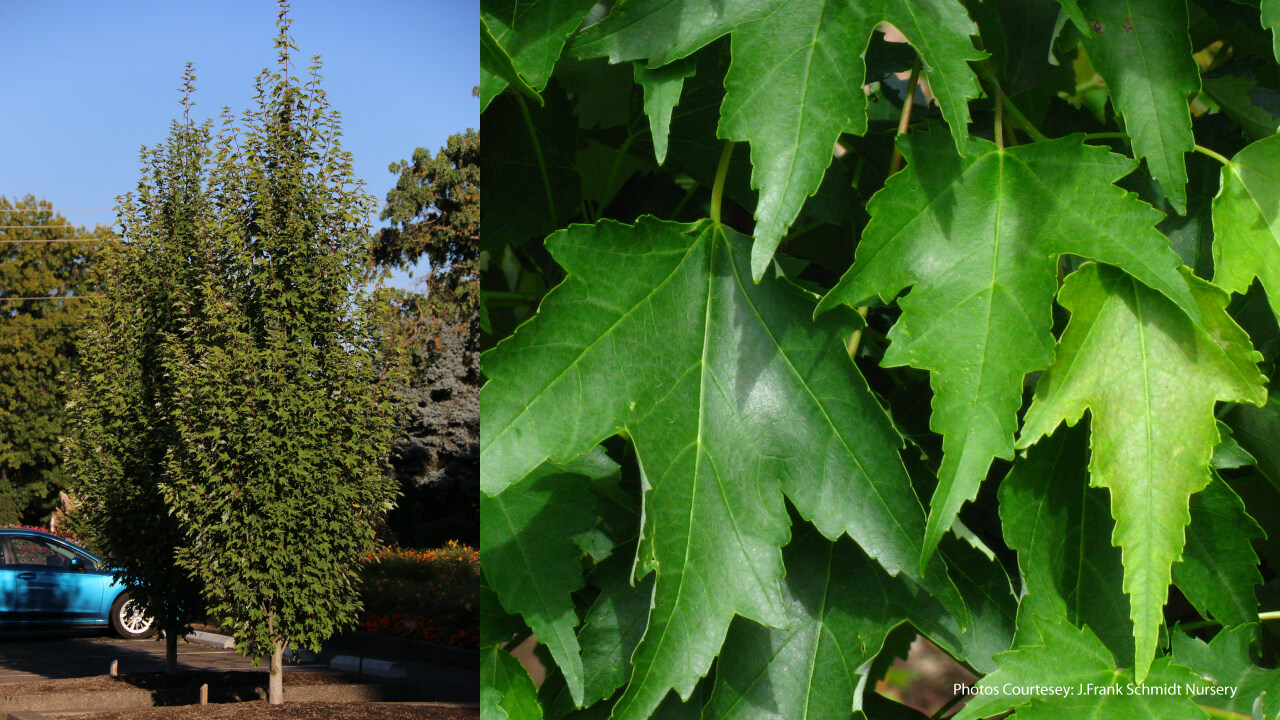
Armstrong Gold Maple
Height: 40 feet
Spread: 12 feet
Foliage: Green
Fall Color: Golden to Orange
Considered one of the best for early fall color. Armstrong Gold’s rich green foliage remains clean and healthy all season. Plant this tree where the morning or afternoon sun will filter through the autumn leaves, and it will glow like a candle flame. This terrifically showy specimen makes a perfect street tree and is beautiful lining a drive.
More Related Articles to Skinny Trees:
Uncle’s Root Accelerator – Keeping Plants Healthy
- Uncle’s Root Accelerator gives plants a healthy start. Learn More at this Link
Uncle’s Max Mix – The Secret is in the Soil
- Uncle’s Max Mix is a premium-grade horticultural planting mix. Learn More at this Link
Grass Pad Nursery Stock
- Search Idiot-Proof plant selections available at Grass Pad. Learn more at this link.
How to Fertilize for Healthy Trees and Shrubs
- Tips for fertilizing new and existing shrubs in landscapes. Learn more at this link.
Guide to Planting Trees and Shrubs
- How to plant trees and shrubs for best results. Learn more at this link.

